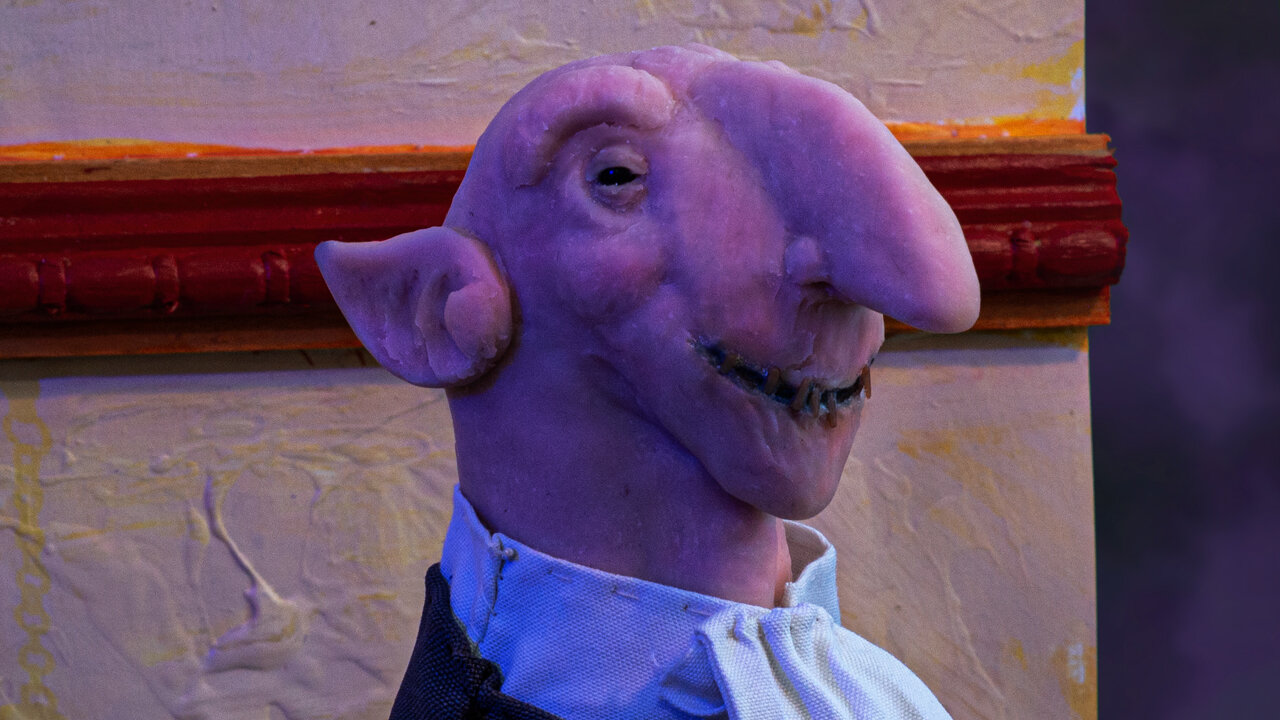
During a recent period of artist block, I was inspired to get up to a bit of sculpting a troll head with polymer clay. Meet Mr. Render, an underworld enforcer troll-like character that I created. I’ve often had a fondness for period gangster film and television like Guy Ritchie’s “Lock, Stock, & Two Smoking Barrels” and “Snatch” as well as “Peaky Blinders”. While I also enjoy American period crime drama, I really enjoy stories of the cockney accented London east enders. The idea for Mr. Render “The Ender” was sparked by such media as well as tough-man turned actor Lenny “The Guv’nor” McLean who was cast as Barry “The Baptist” in Ritchie’s “Lock, Stock”. McLean was not only cast in such roles, but also was something of that in real life in addition to being a champion in illegal bare knuckle boxing. There’s a documentary on him on Amazon Prime called “The Guv’nor” that I’d recently watched.
Watch Mr. Render | Sculpting a Troll Head with Polymer Clay

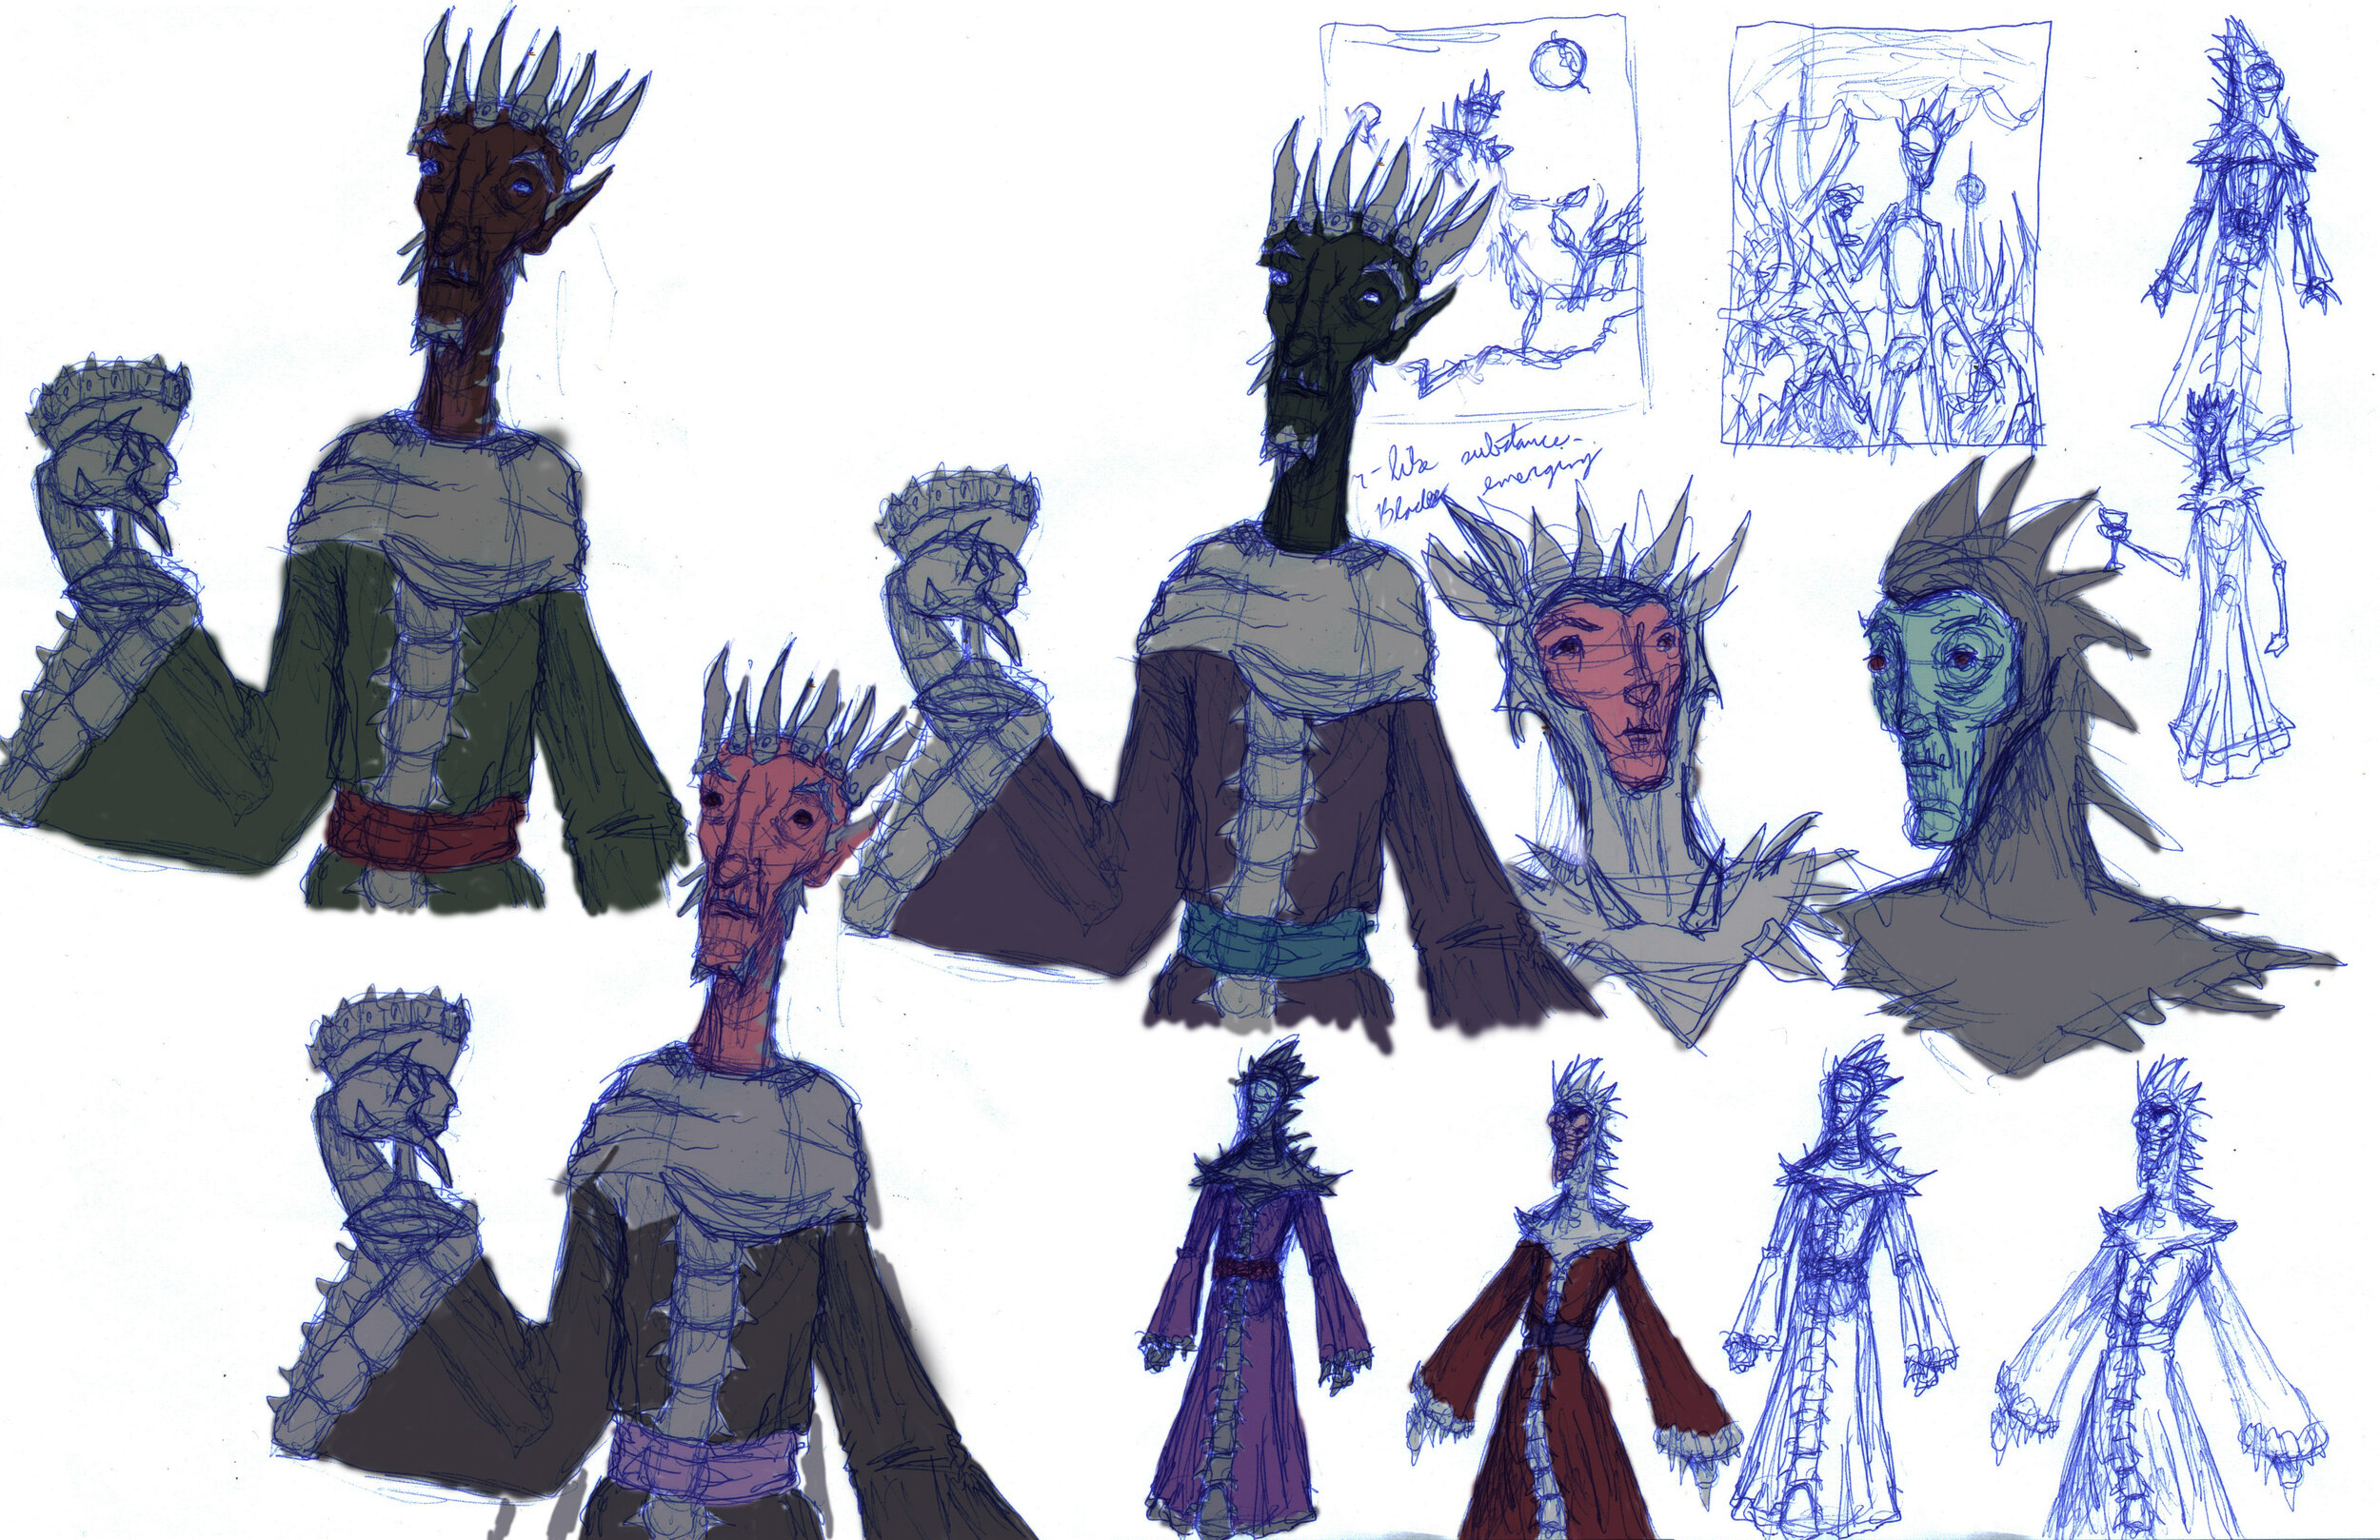
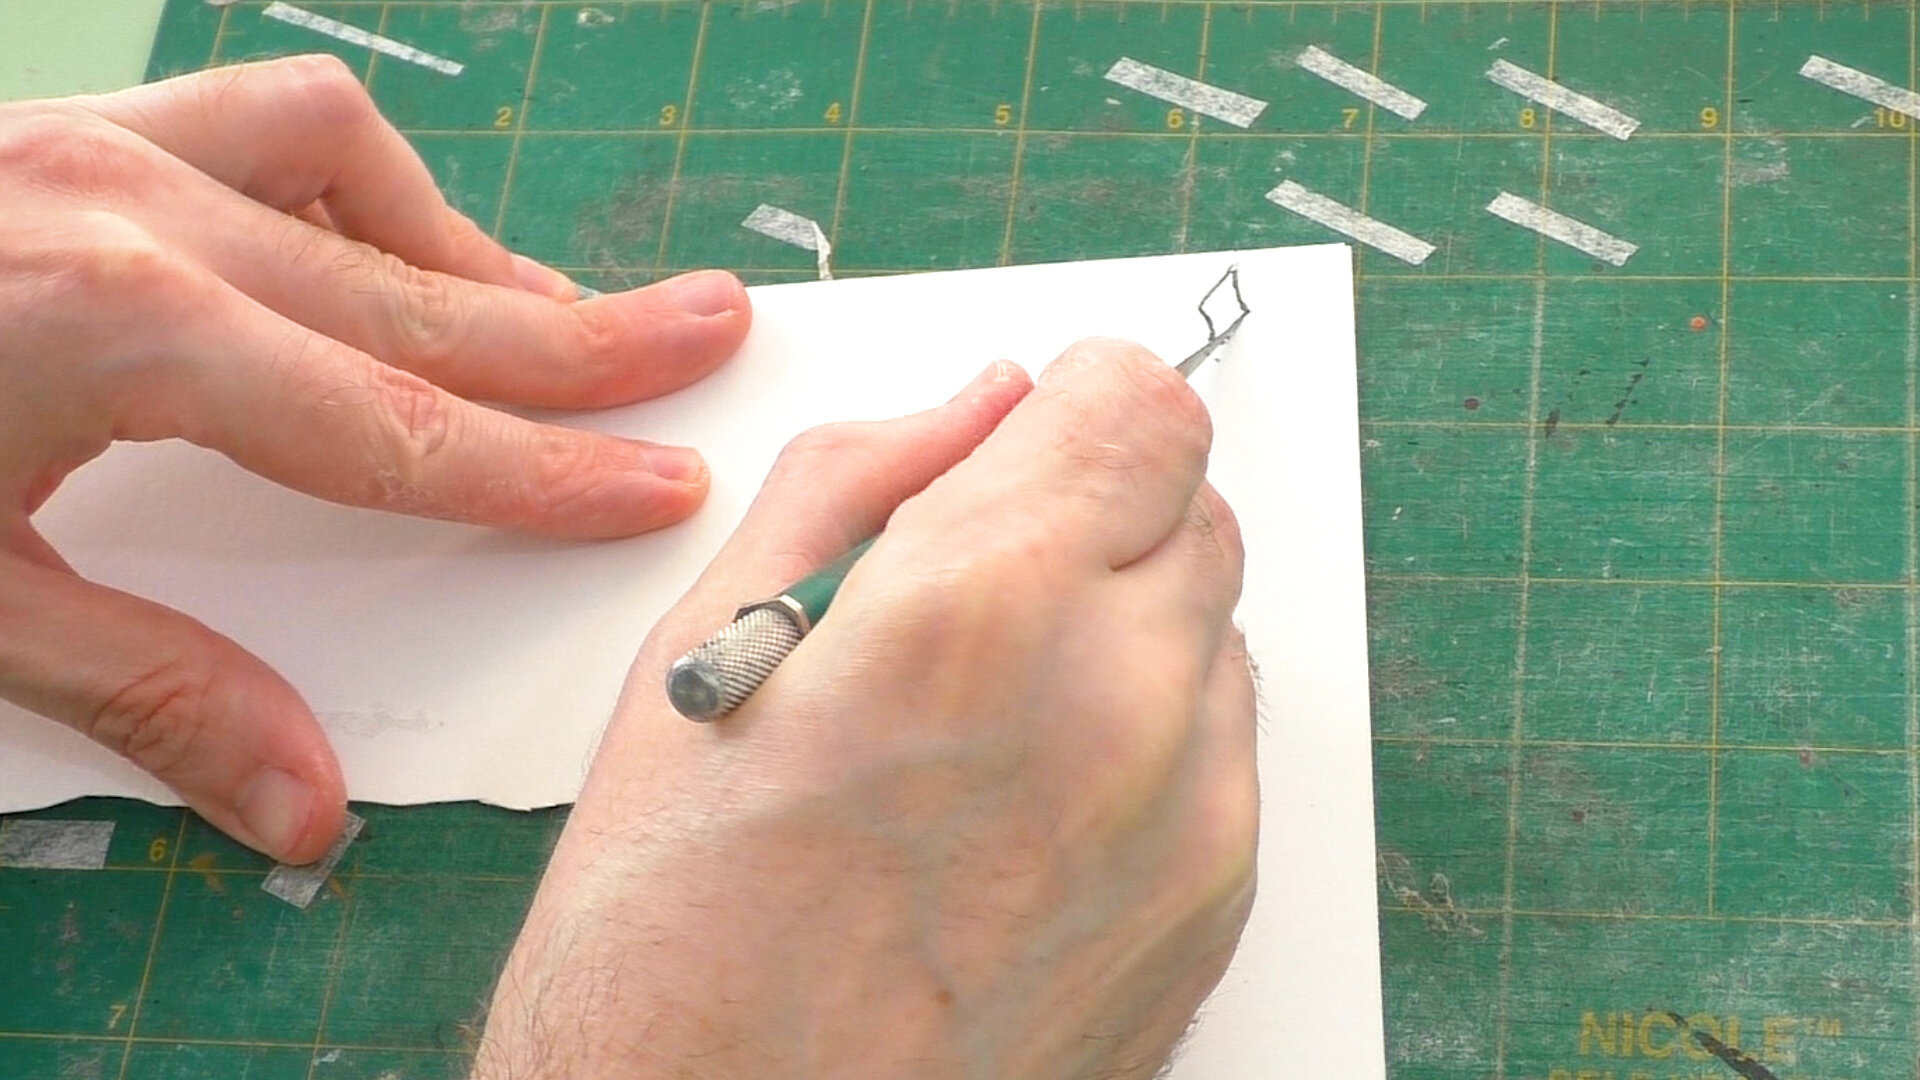
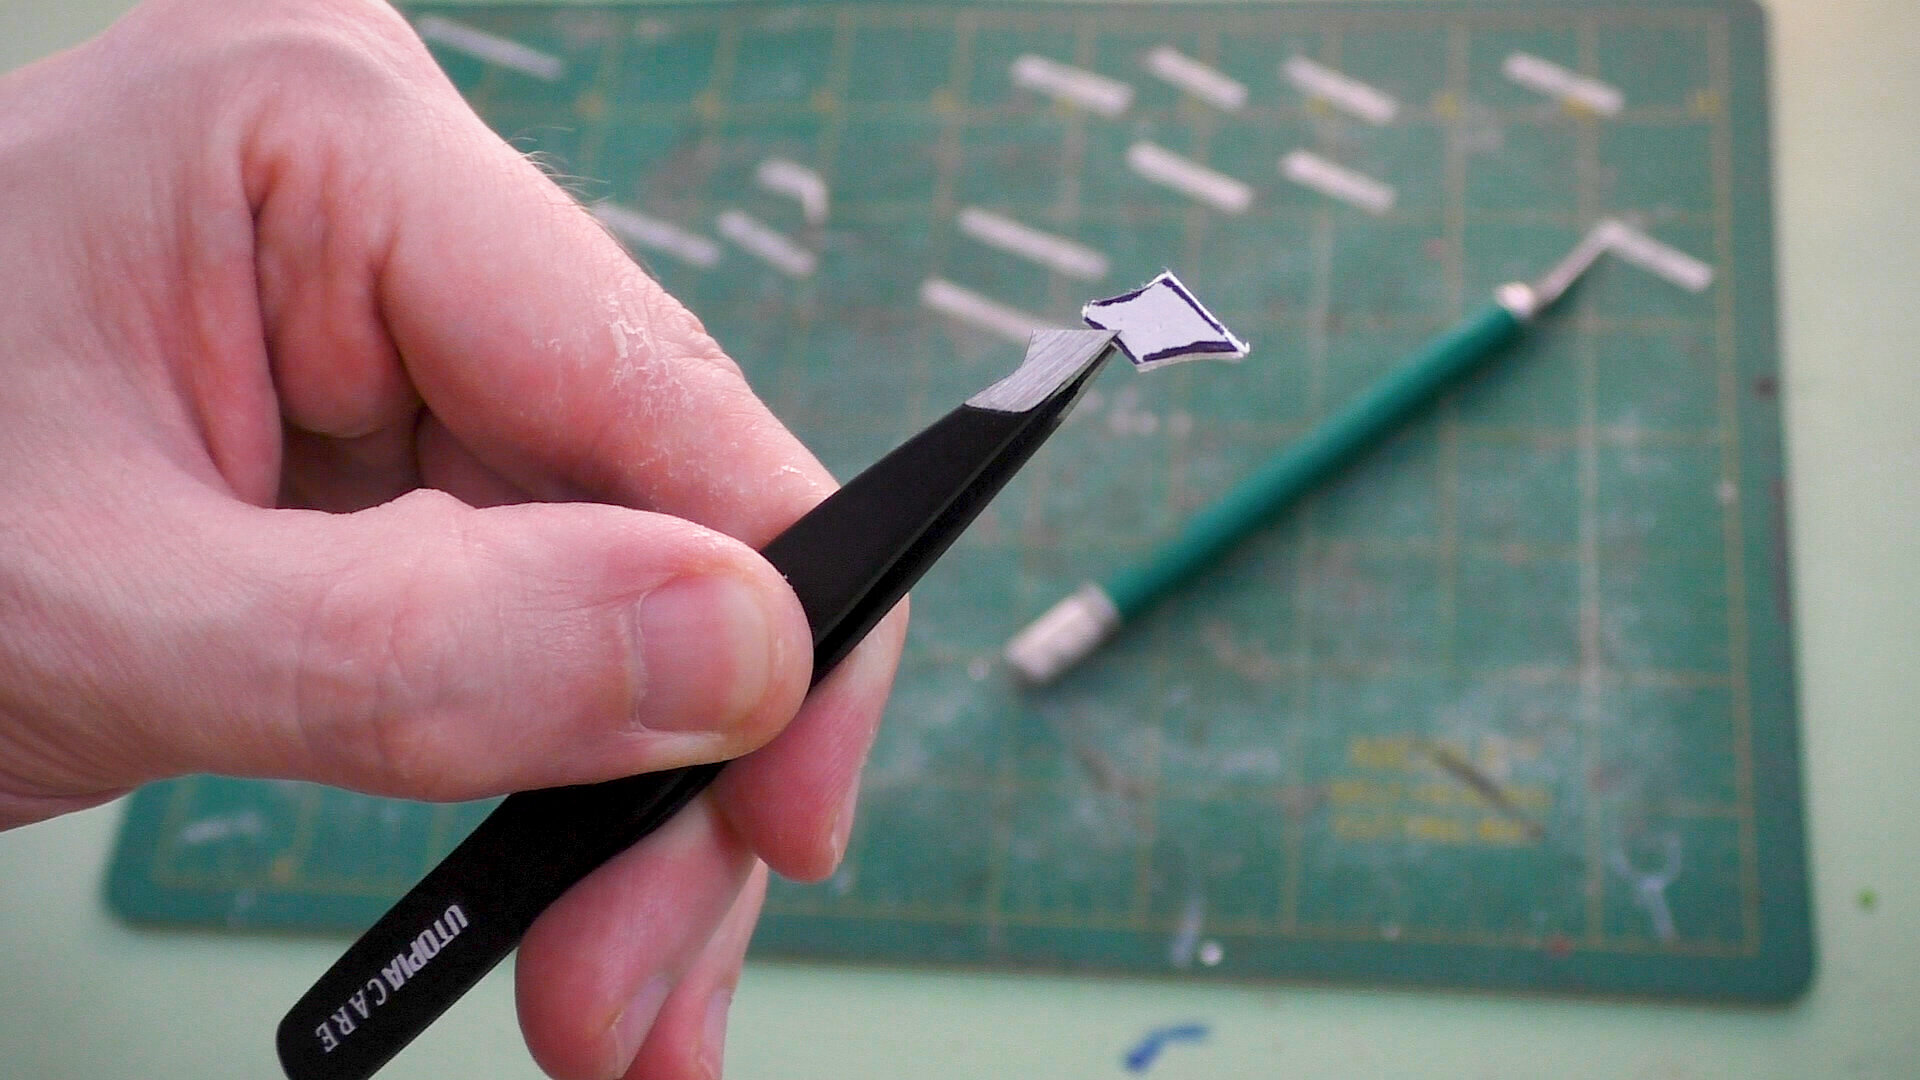
Sketching-out some design ideas for the troll.
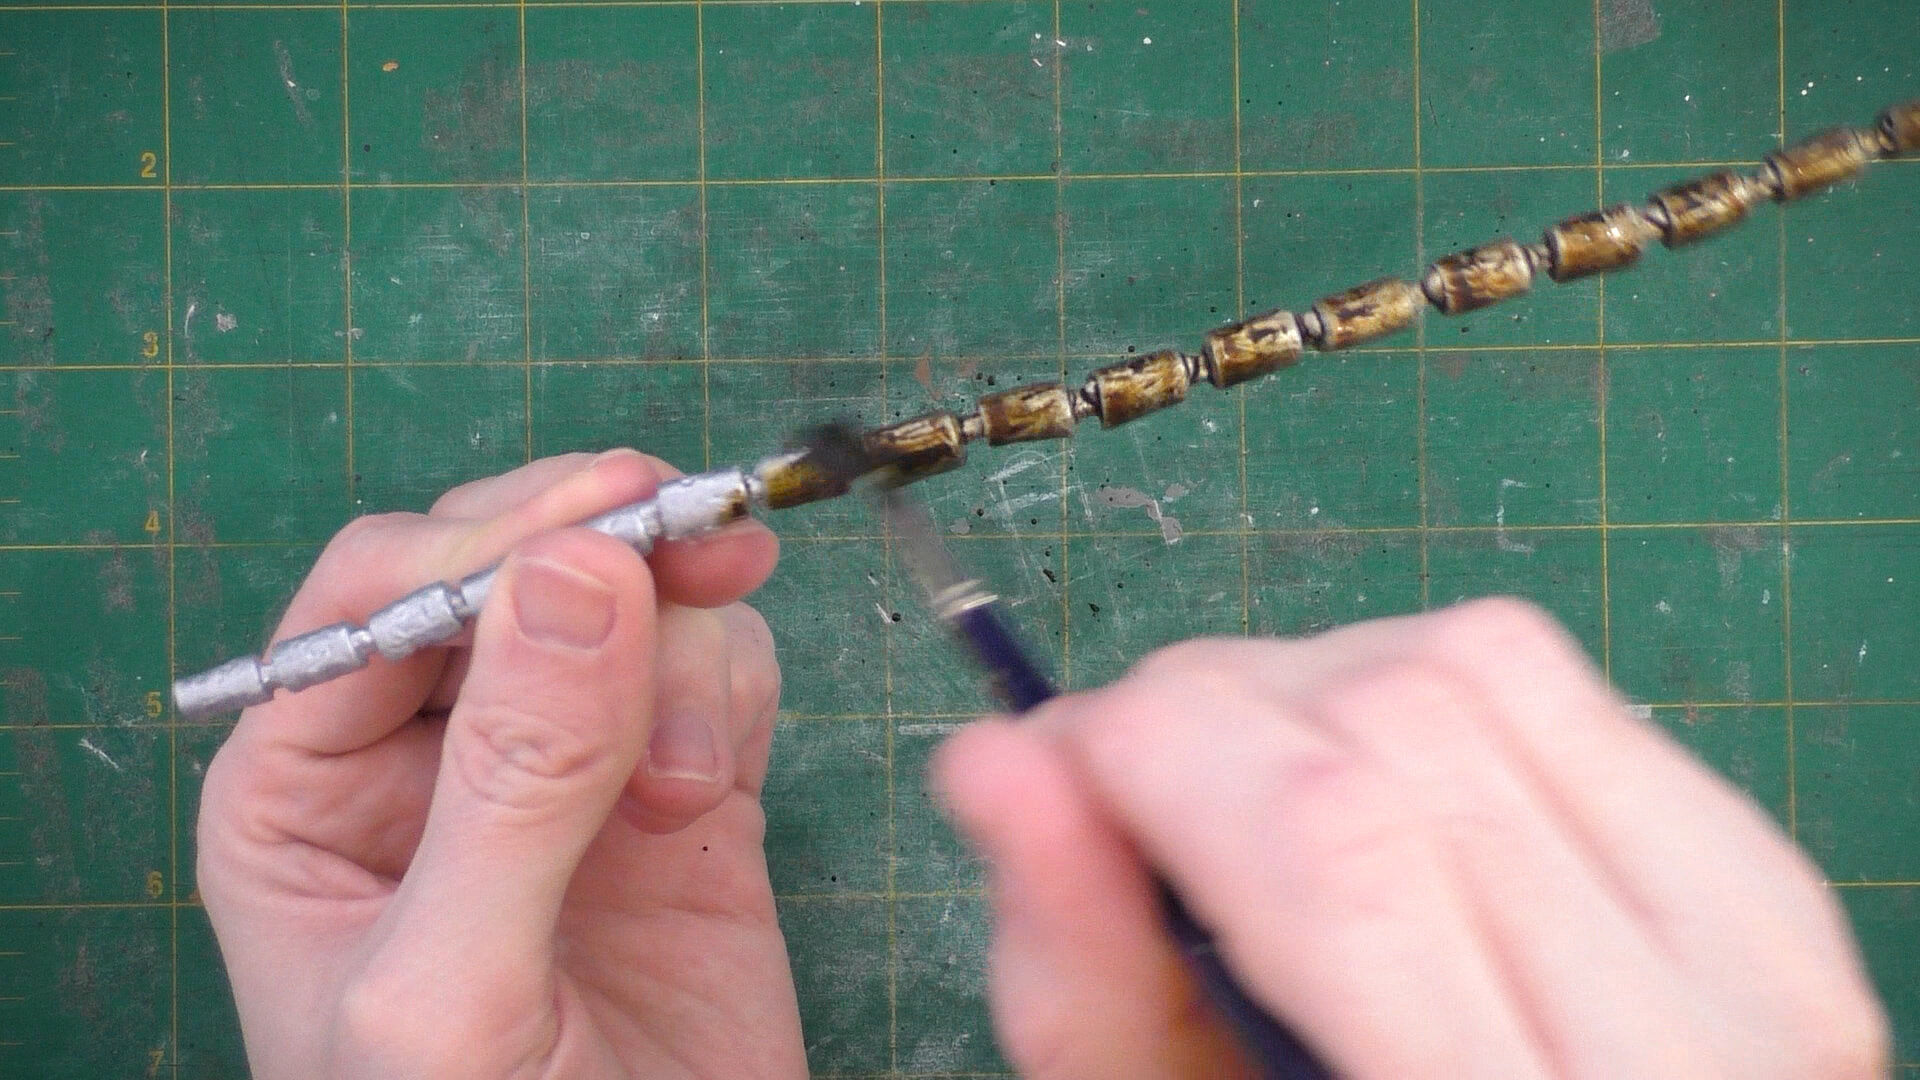
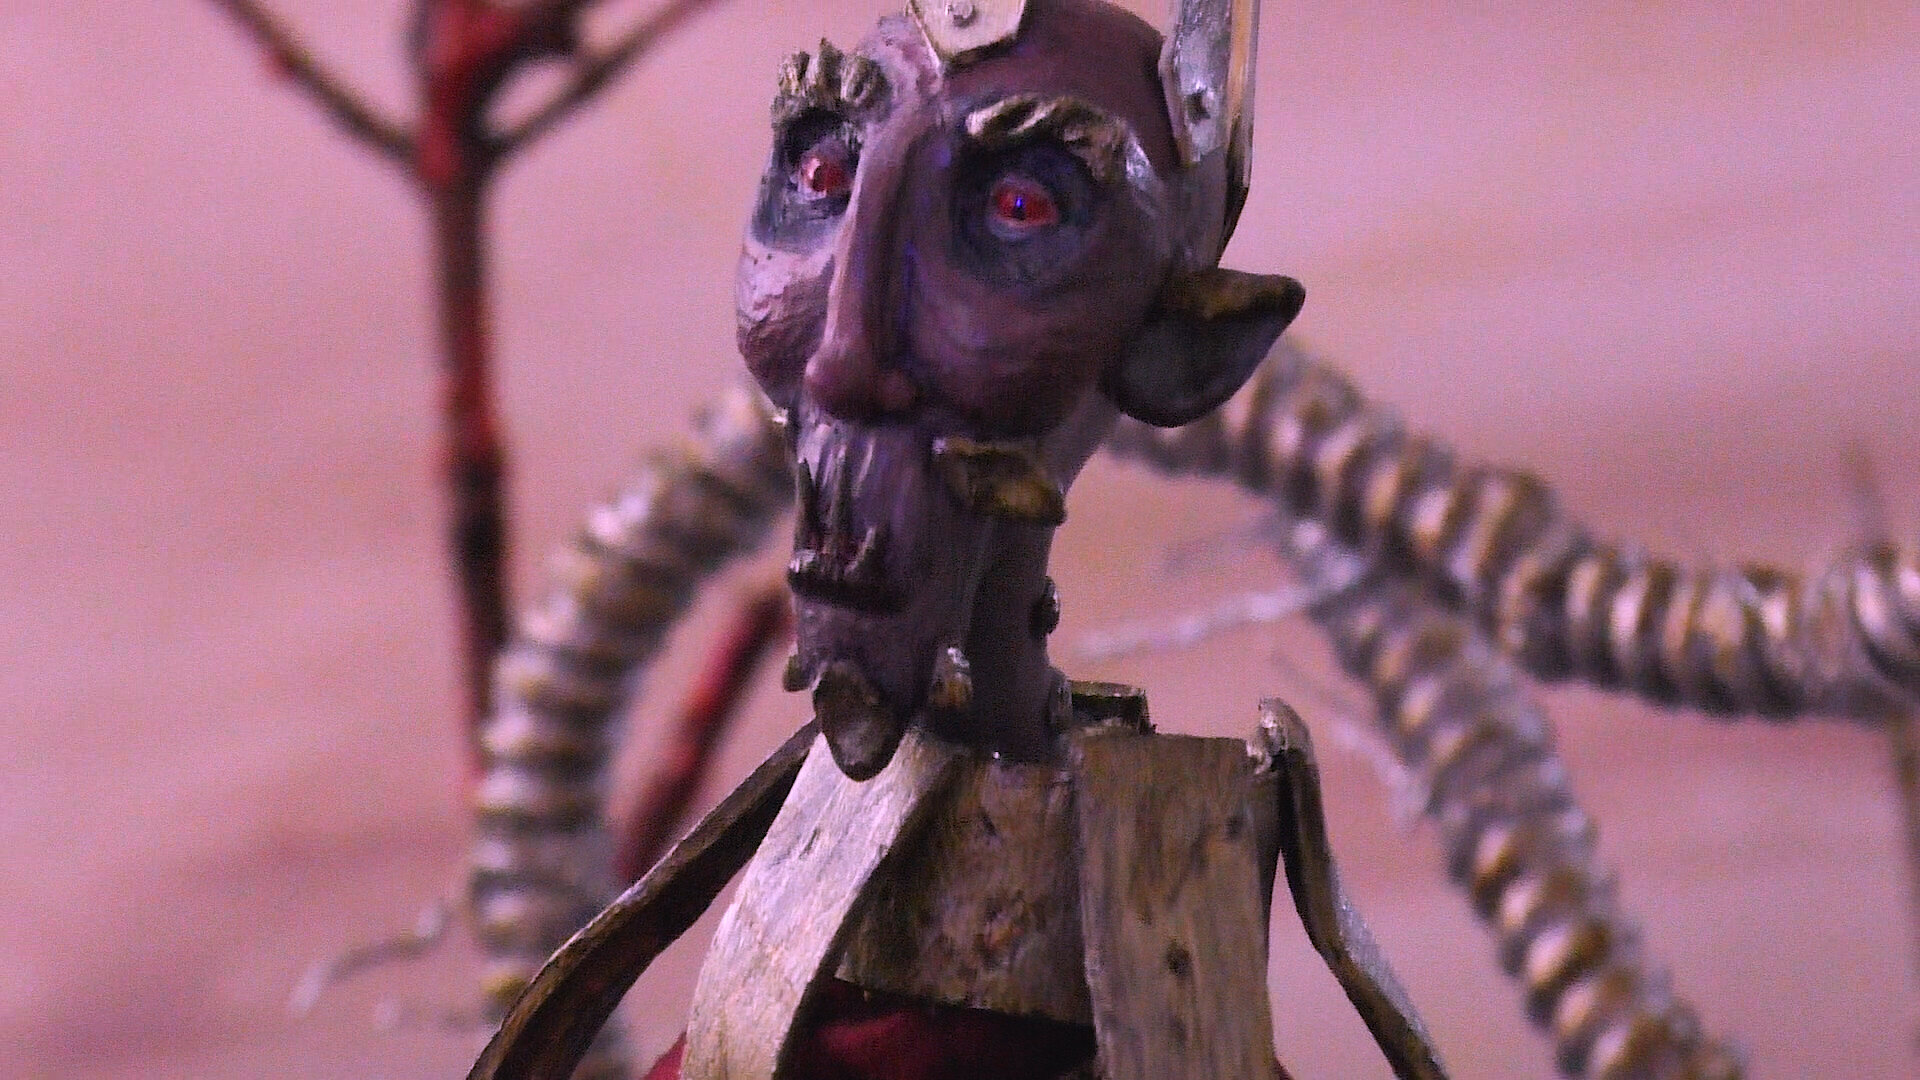
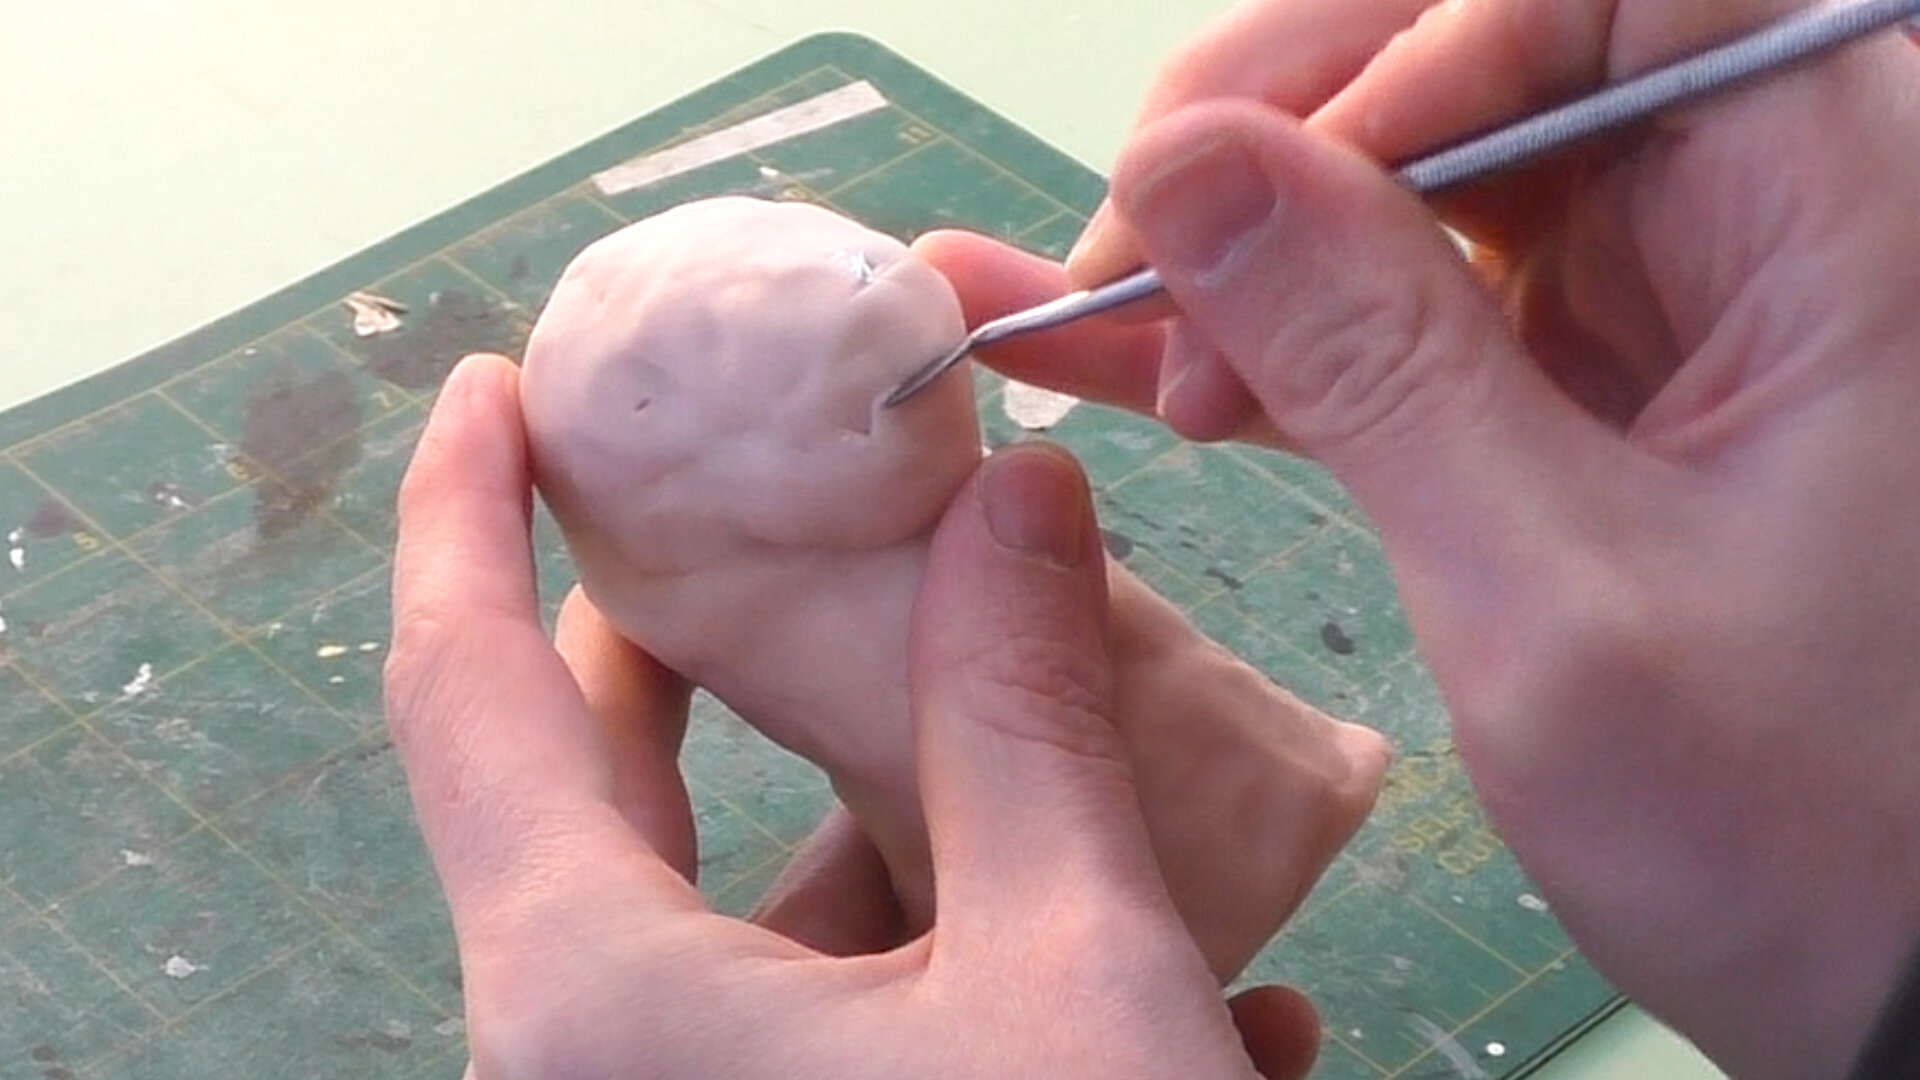
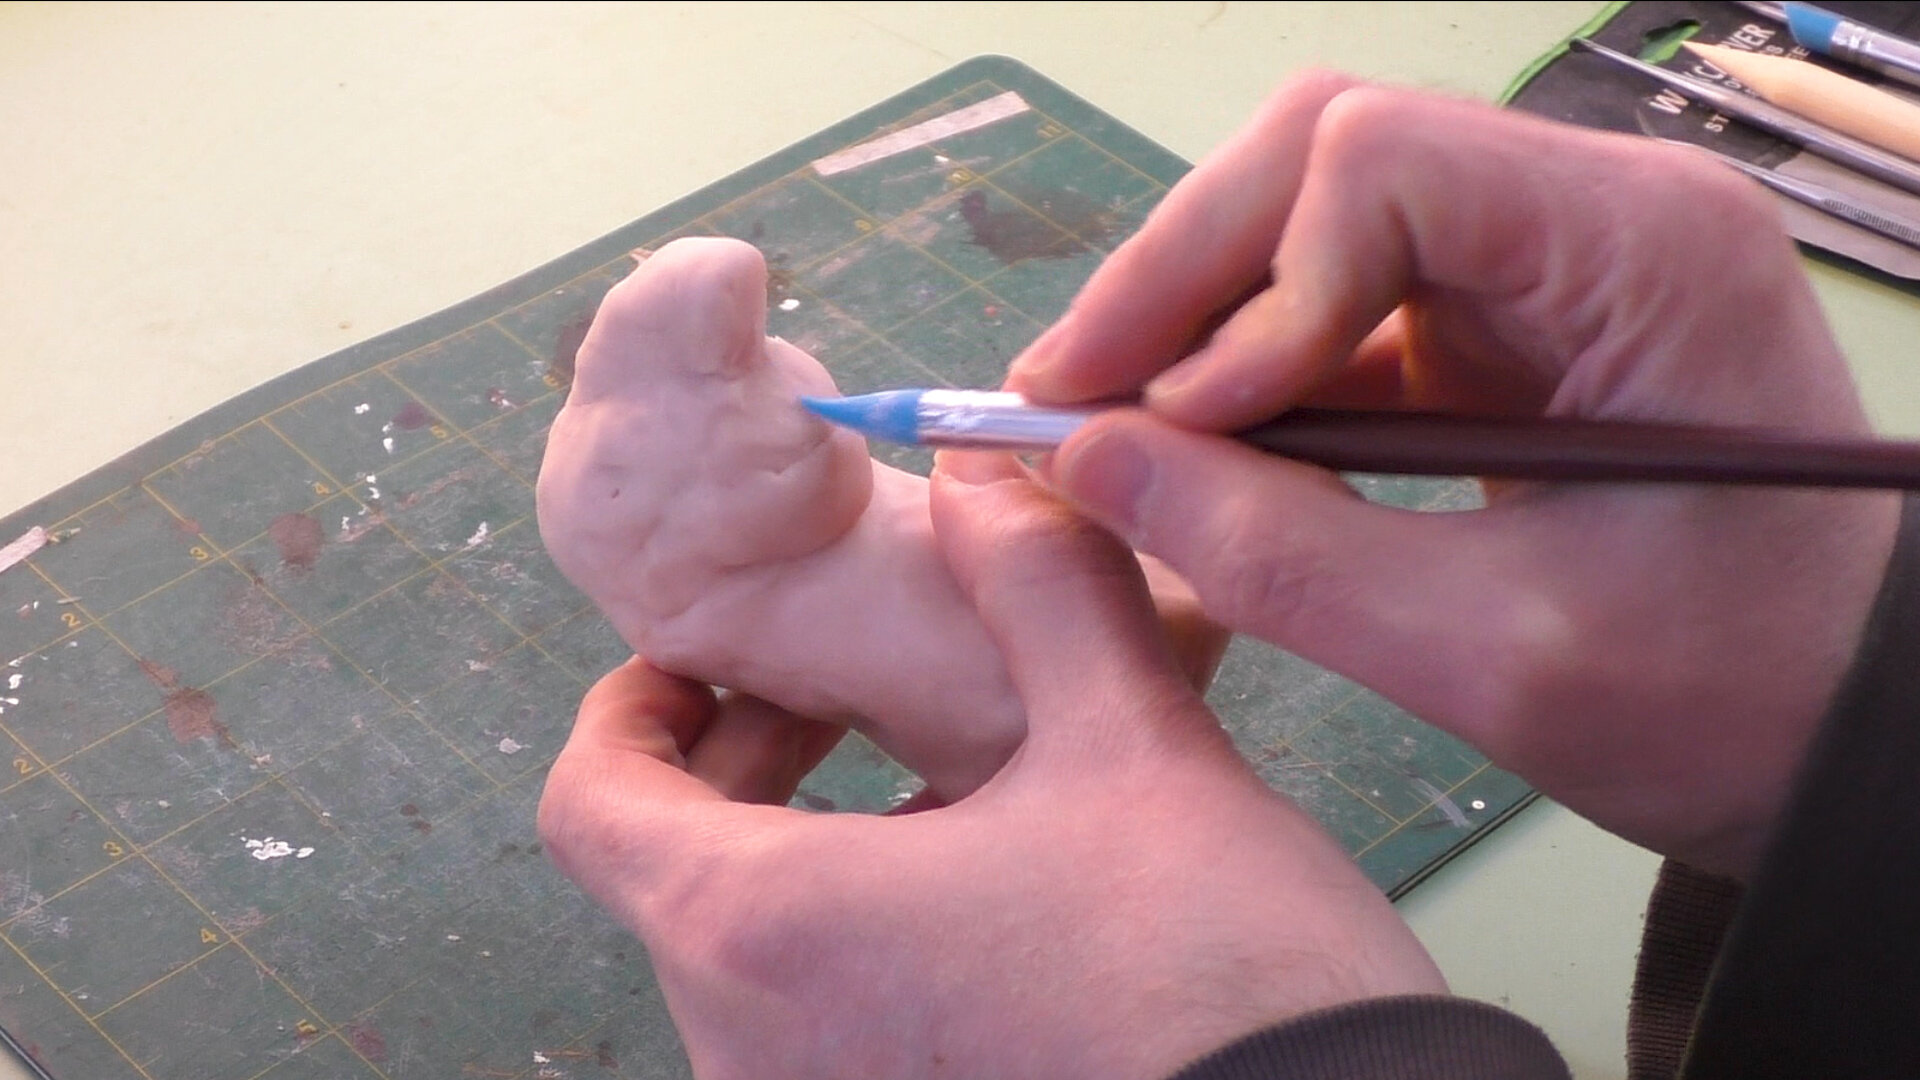
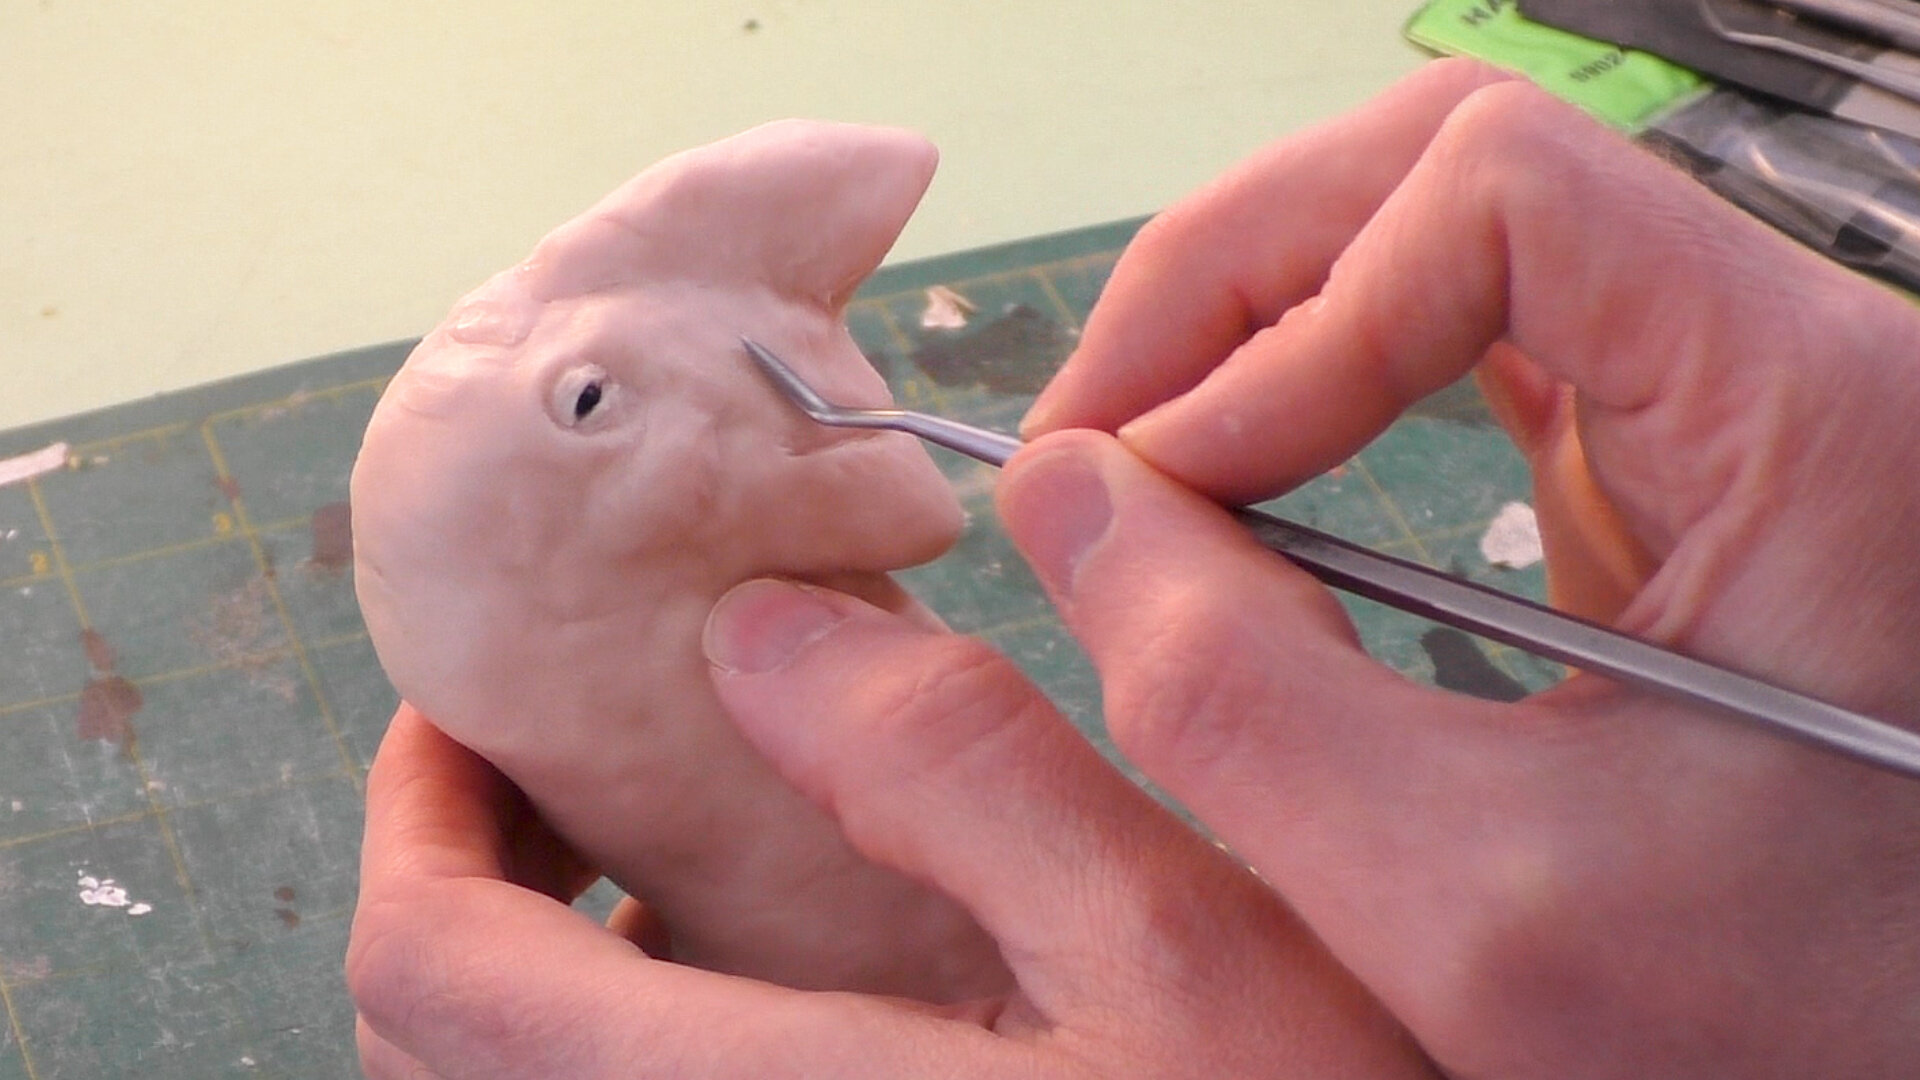
The armature of this troll bust is just some crumpled up tin-foil that I built-up a Sculpey polymer clay form up around. Once the basic shape’s formed it’s then a matter of adding bits of clay here and there and refining the details with clay tools- steel tools, color shapers, and ball styluses as well as my fingers. I wanted to give this creature a very characterful face that recalls the look of the elongated snouts of storybook trolls. I also have a tendency to enjoy depicting characters with large noses and beady eyes (in this case, made from actual beads), which I didn’t fail to deliver on with this sculpt.

One of my favorite costuming references, “Historic Costume in Pictures”
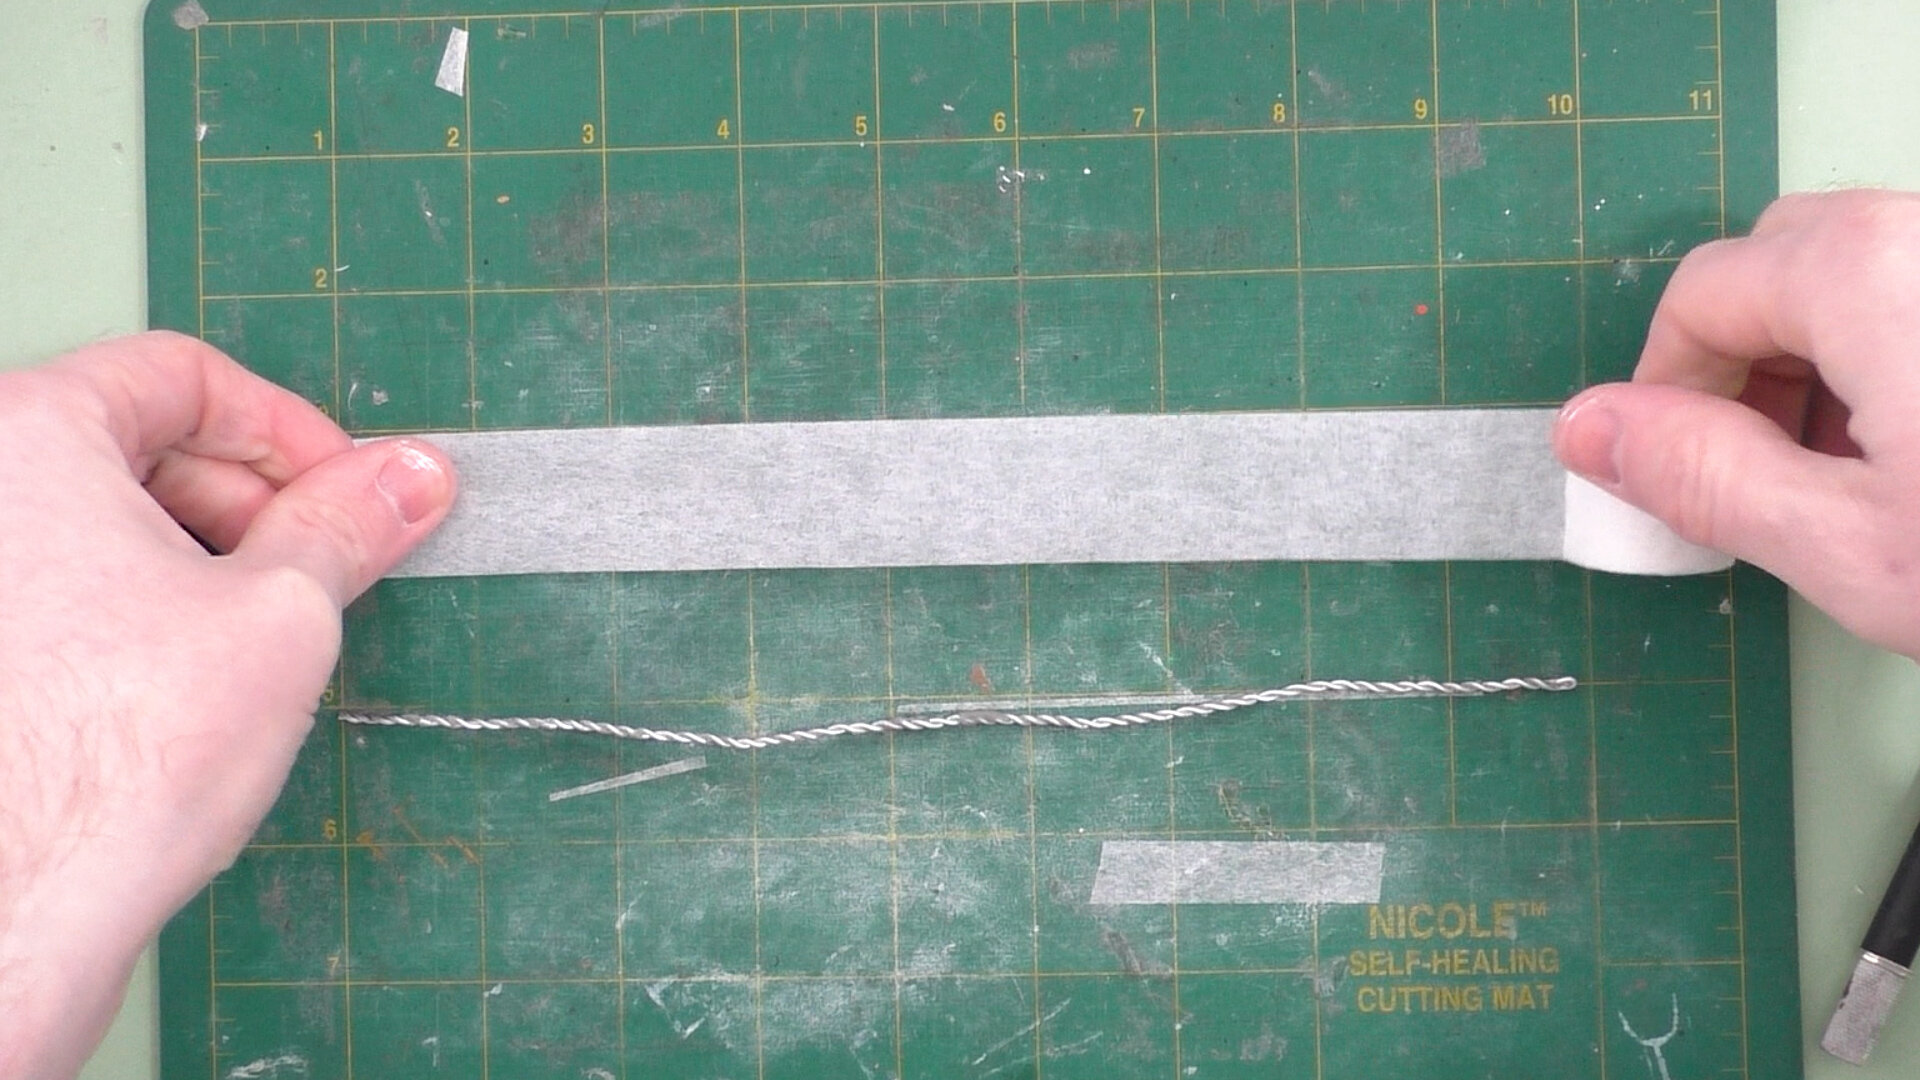
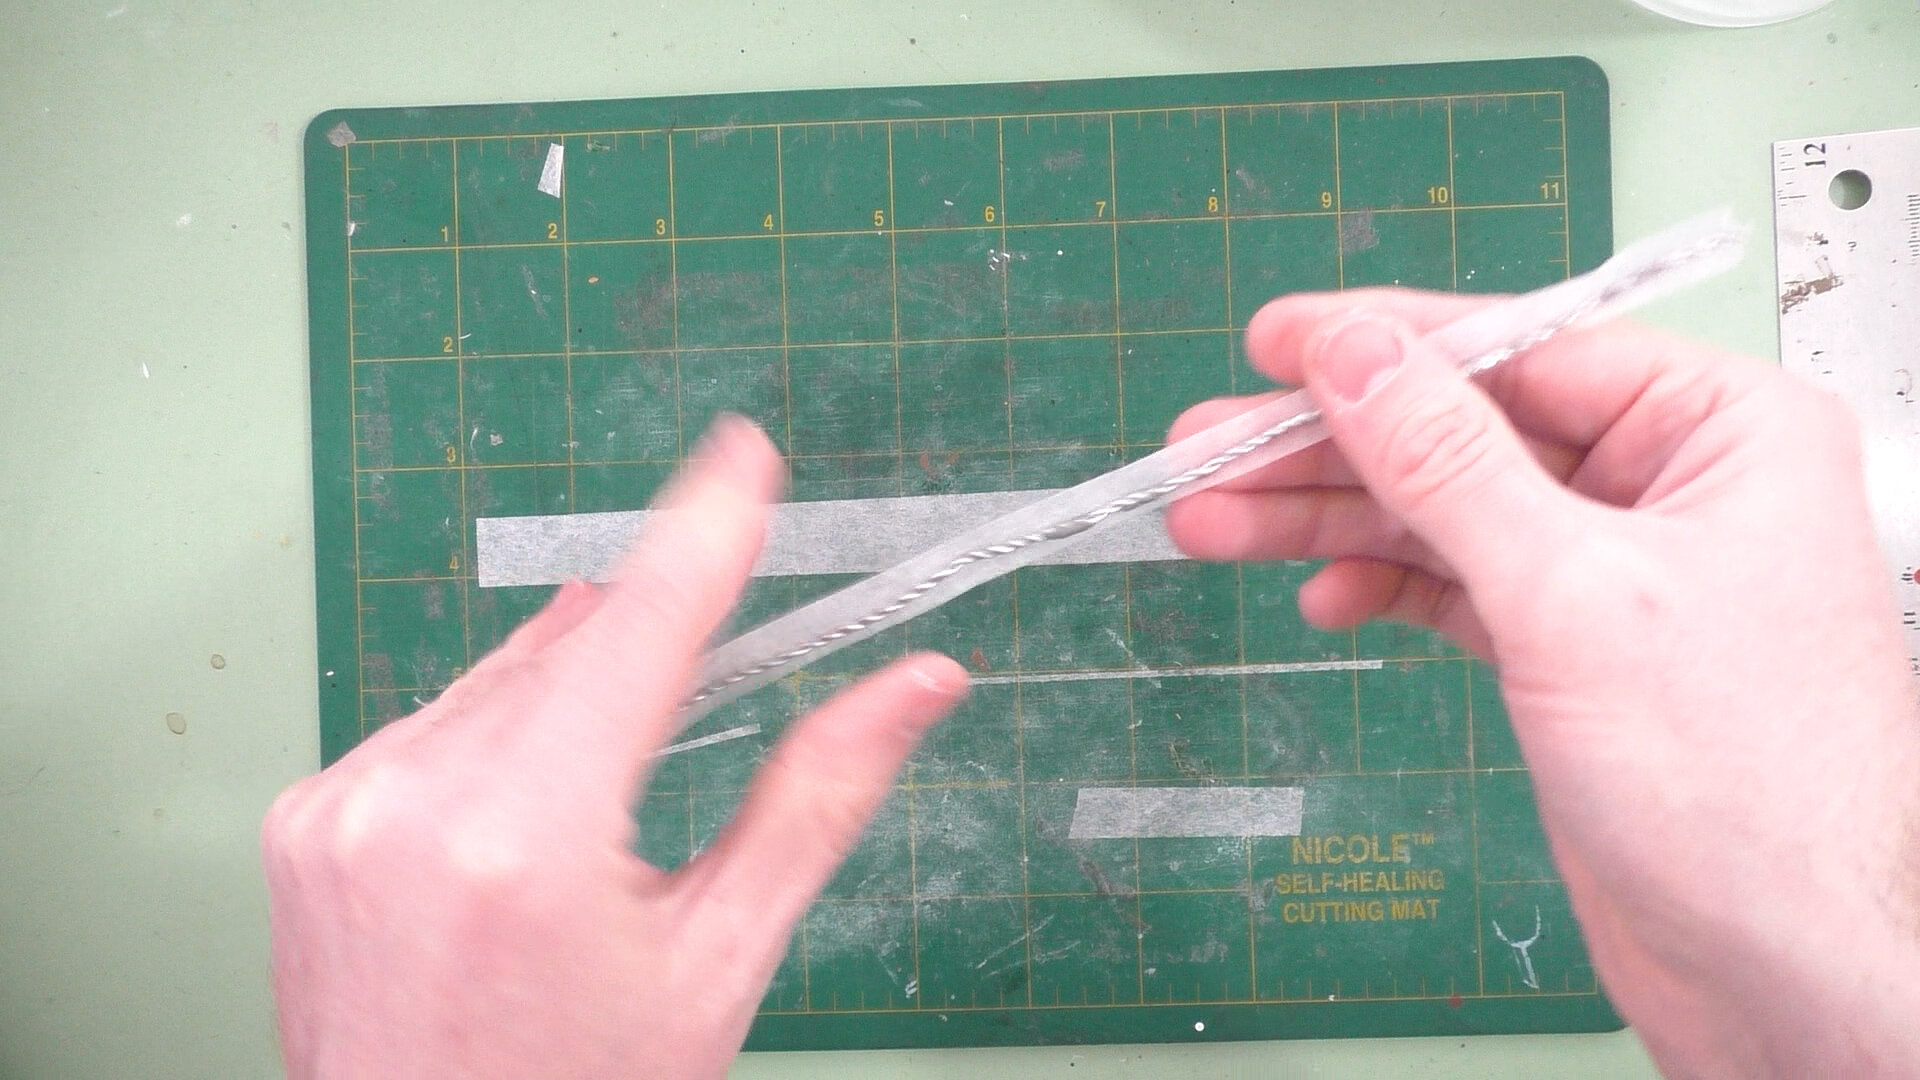
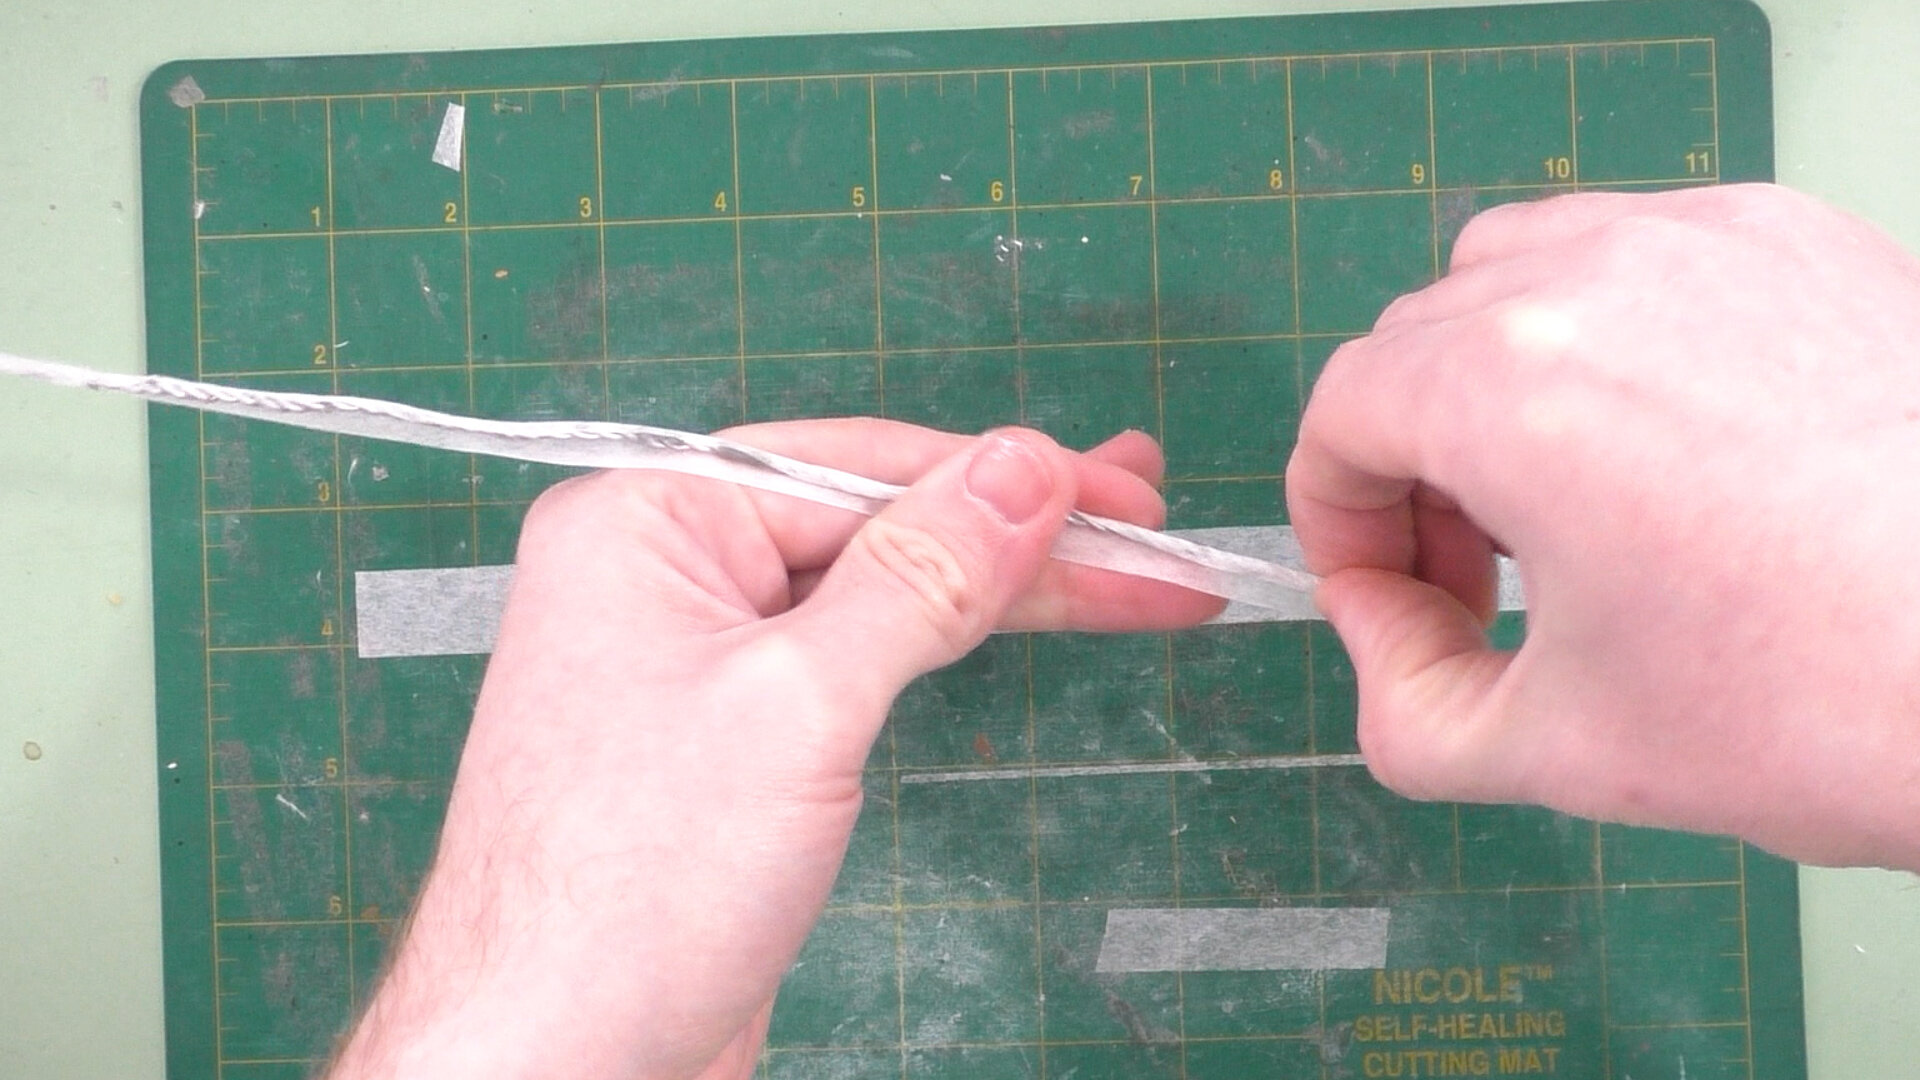
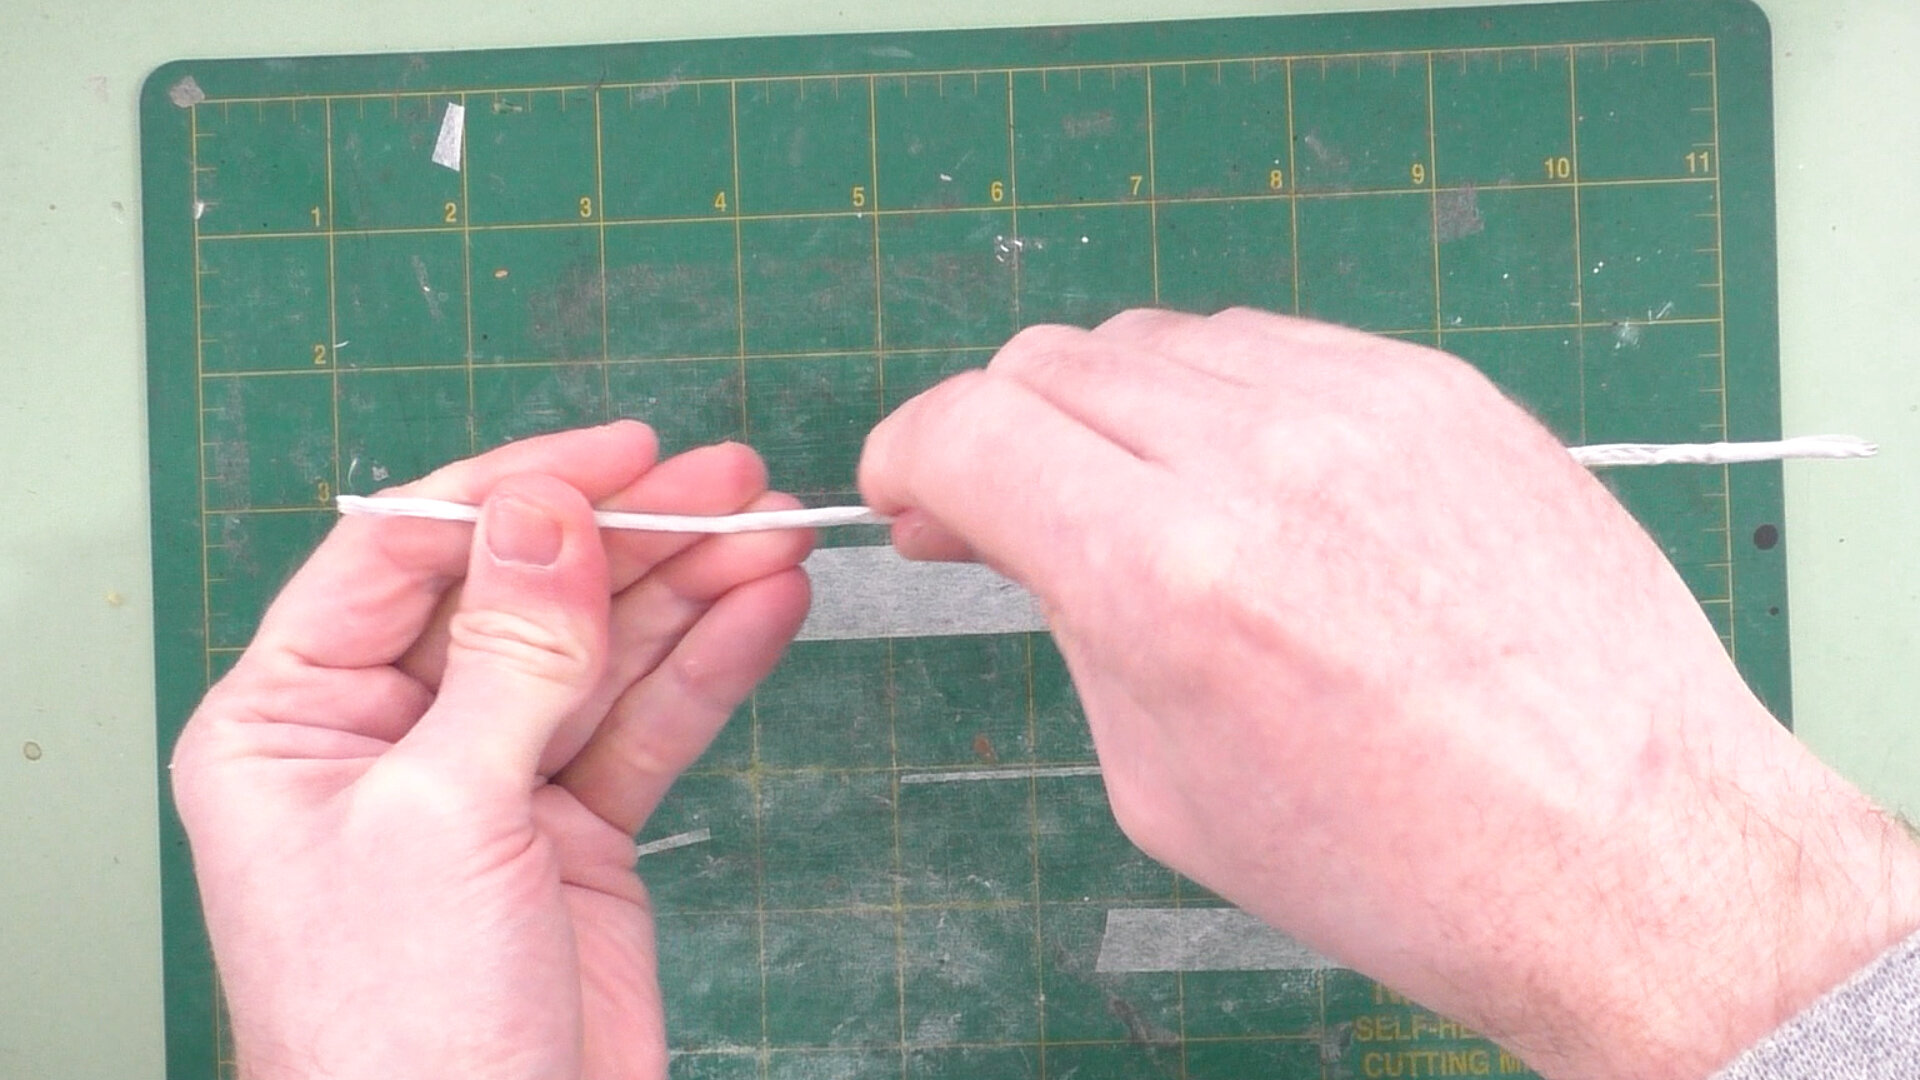
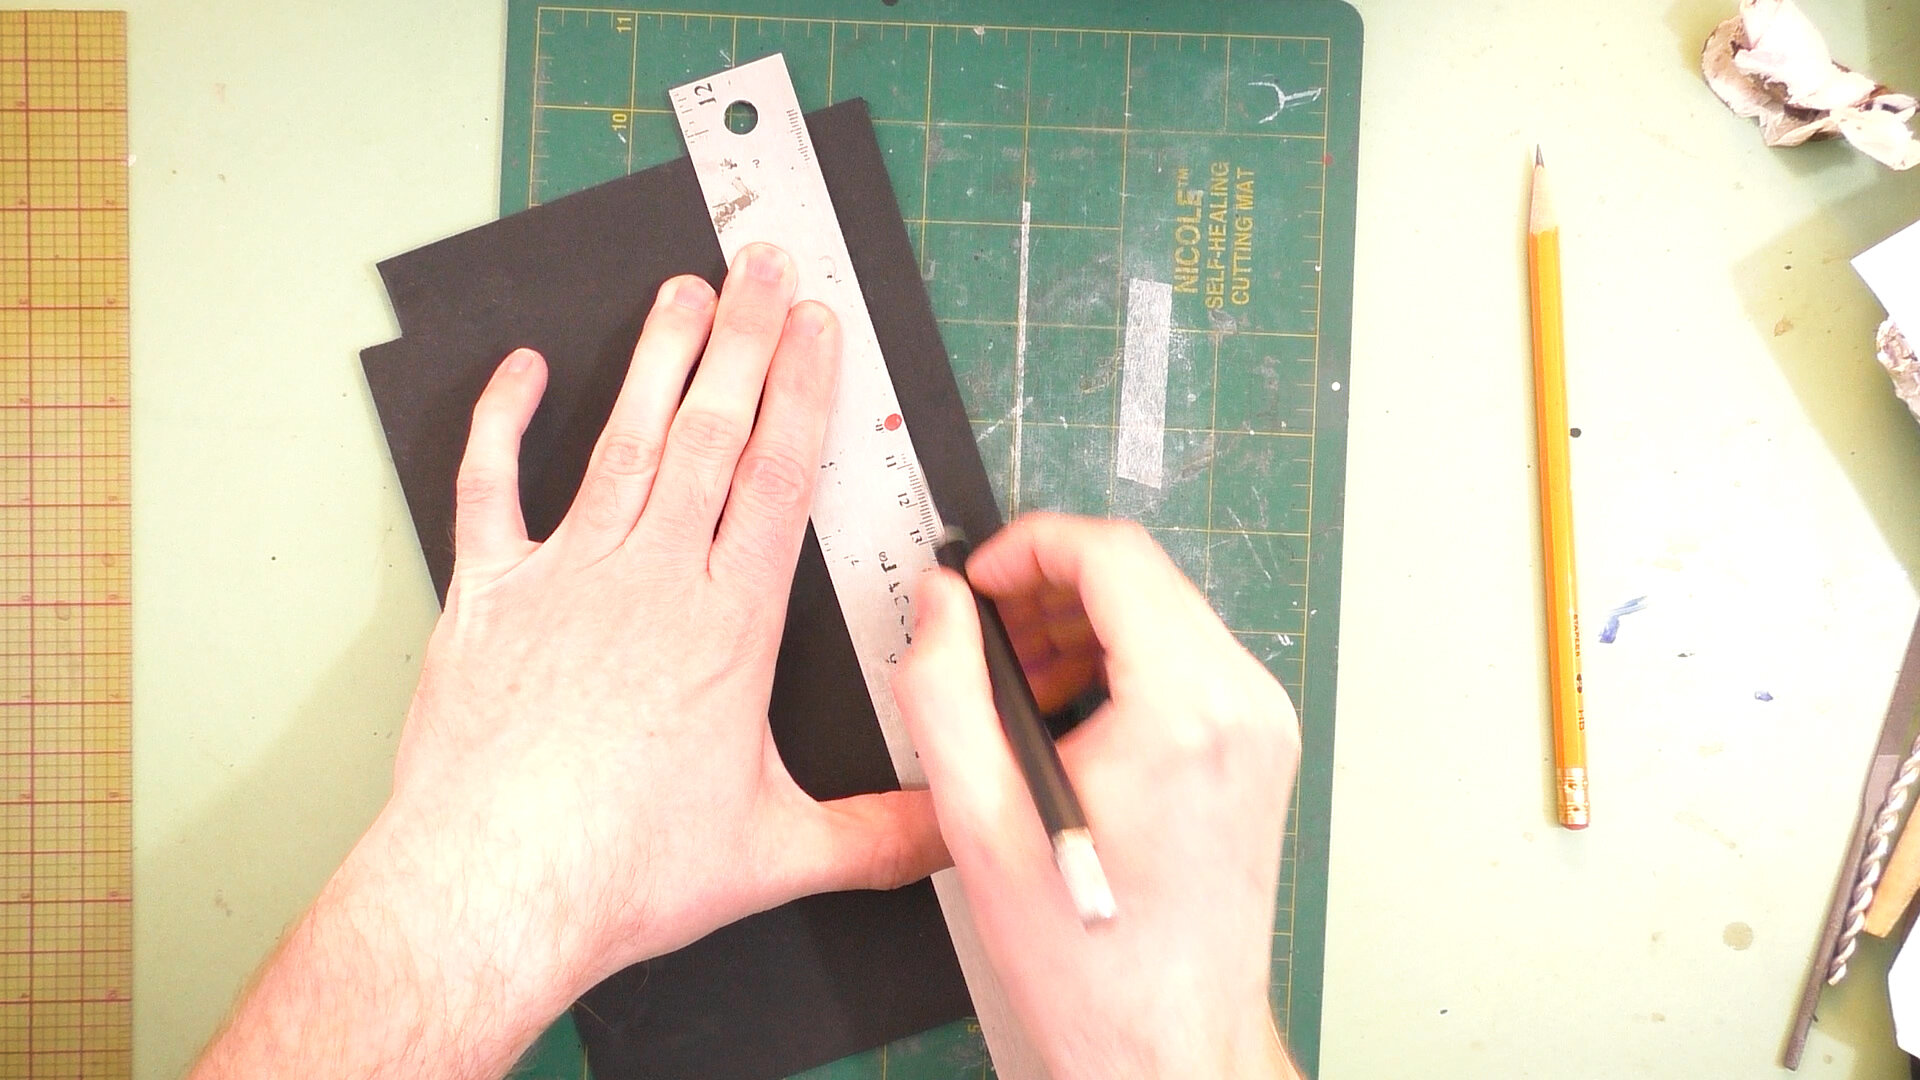
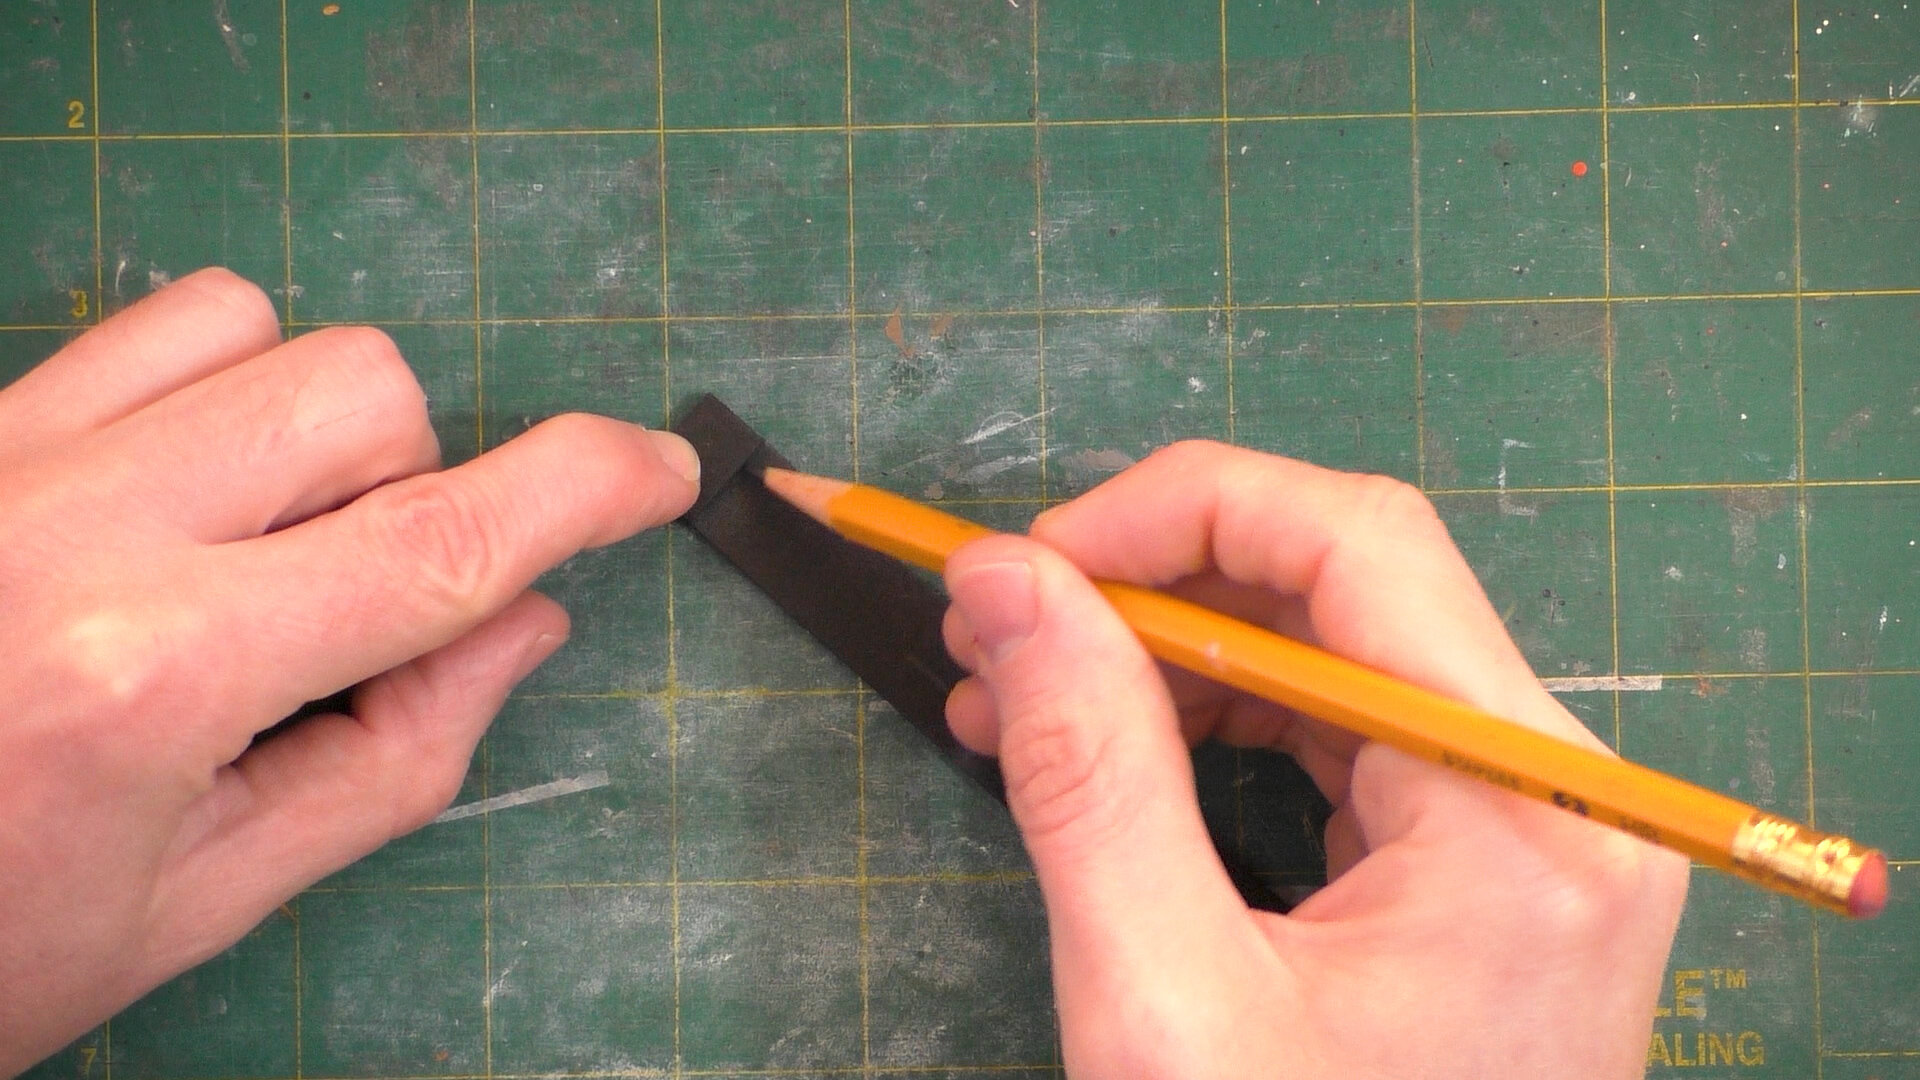
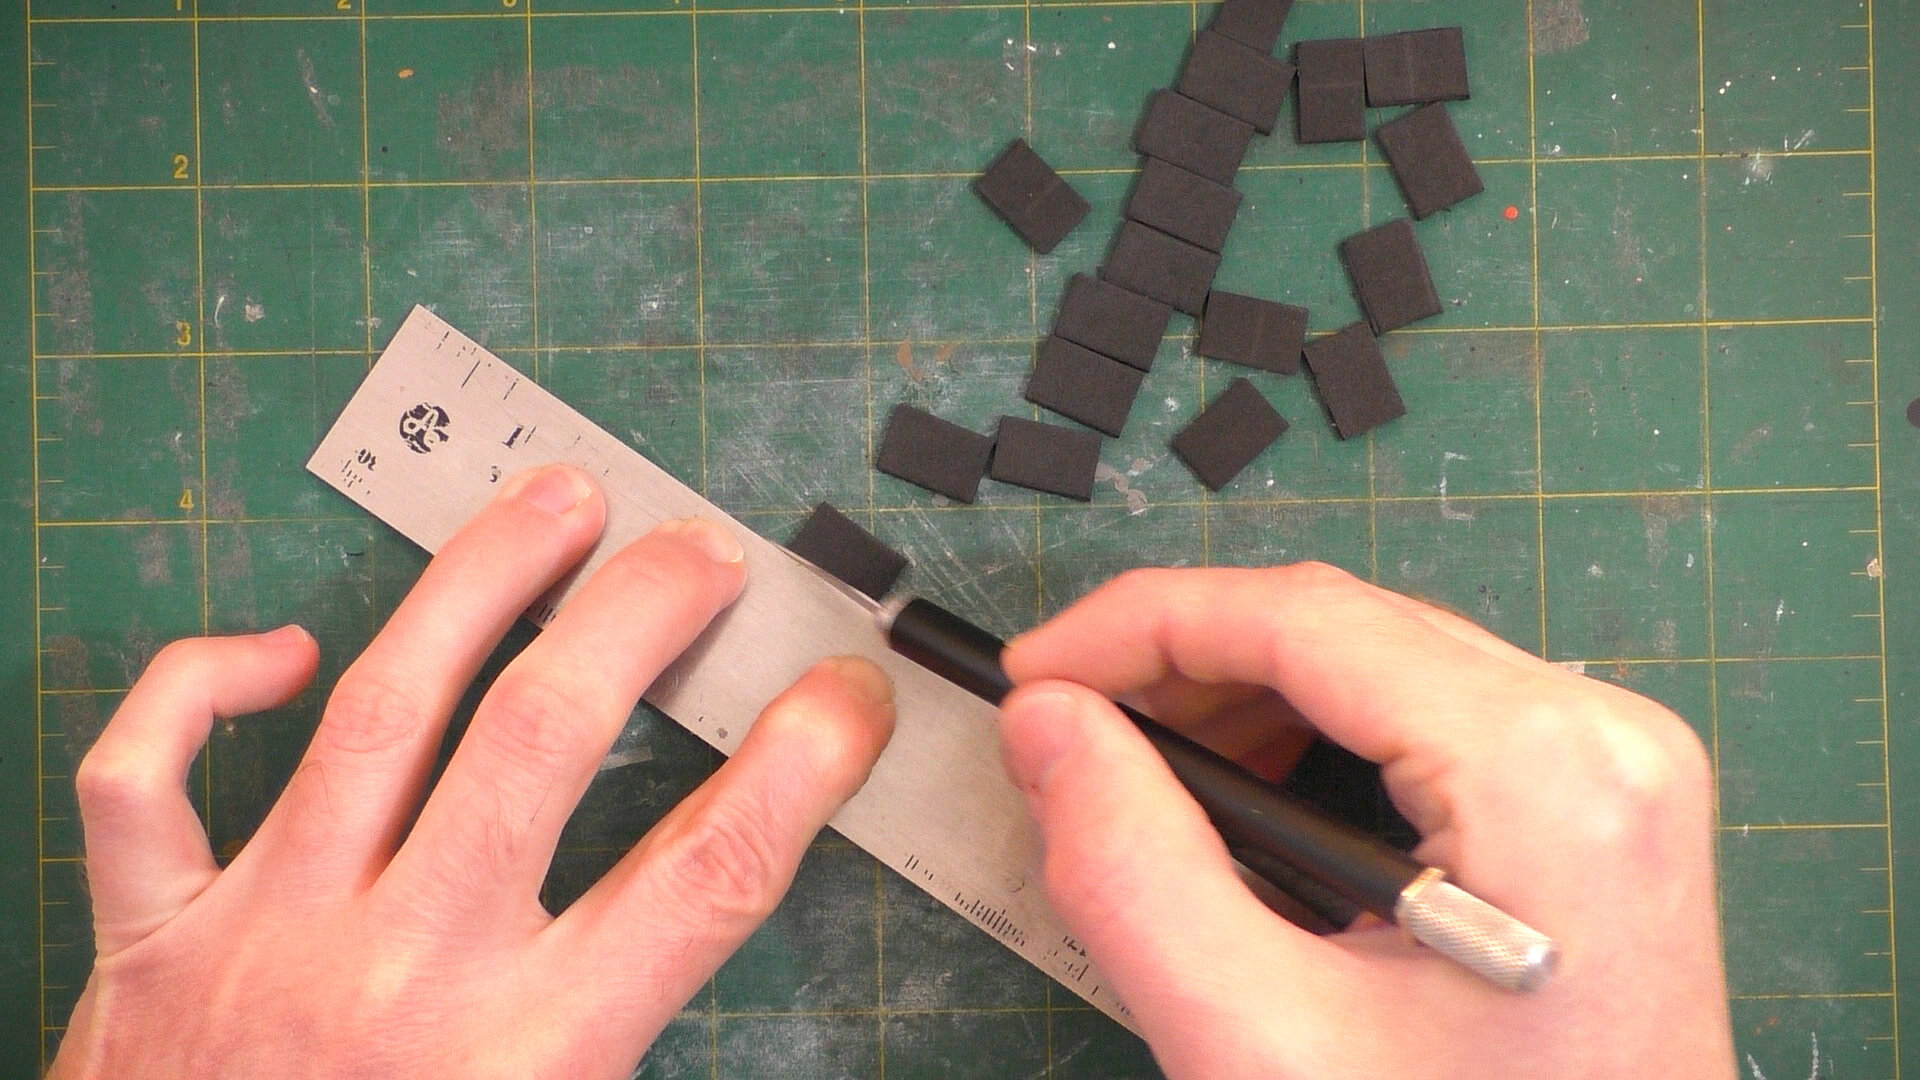
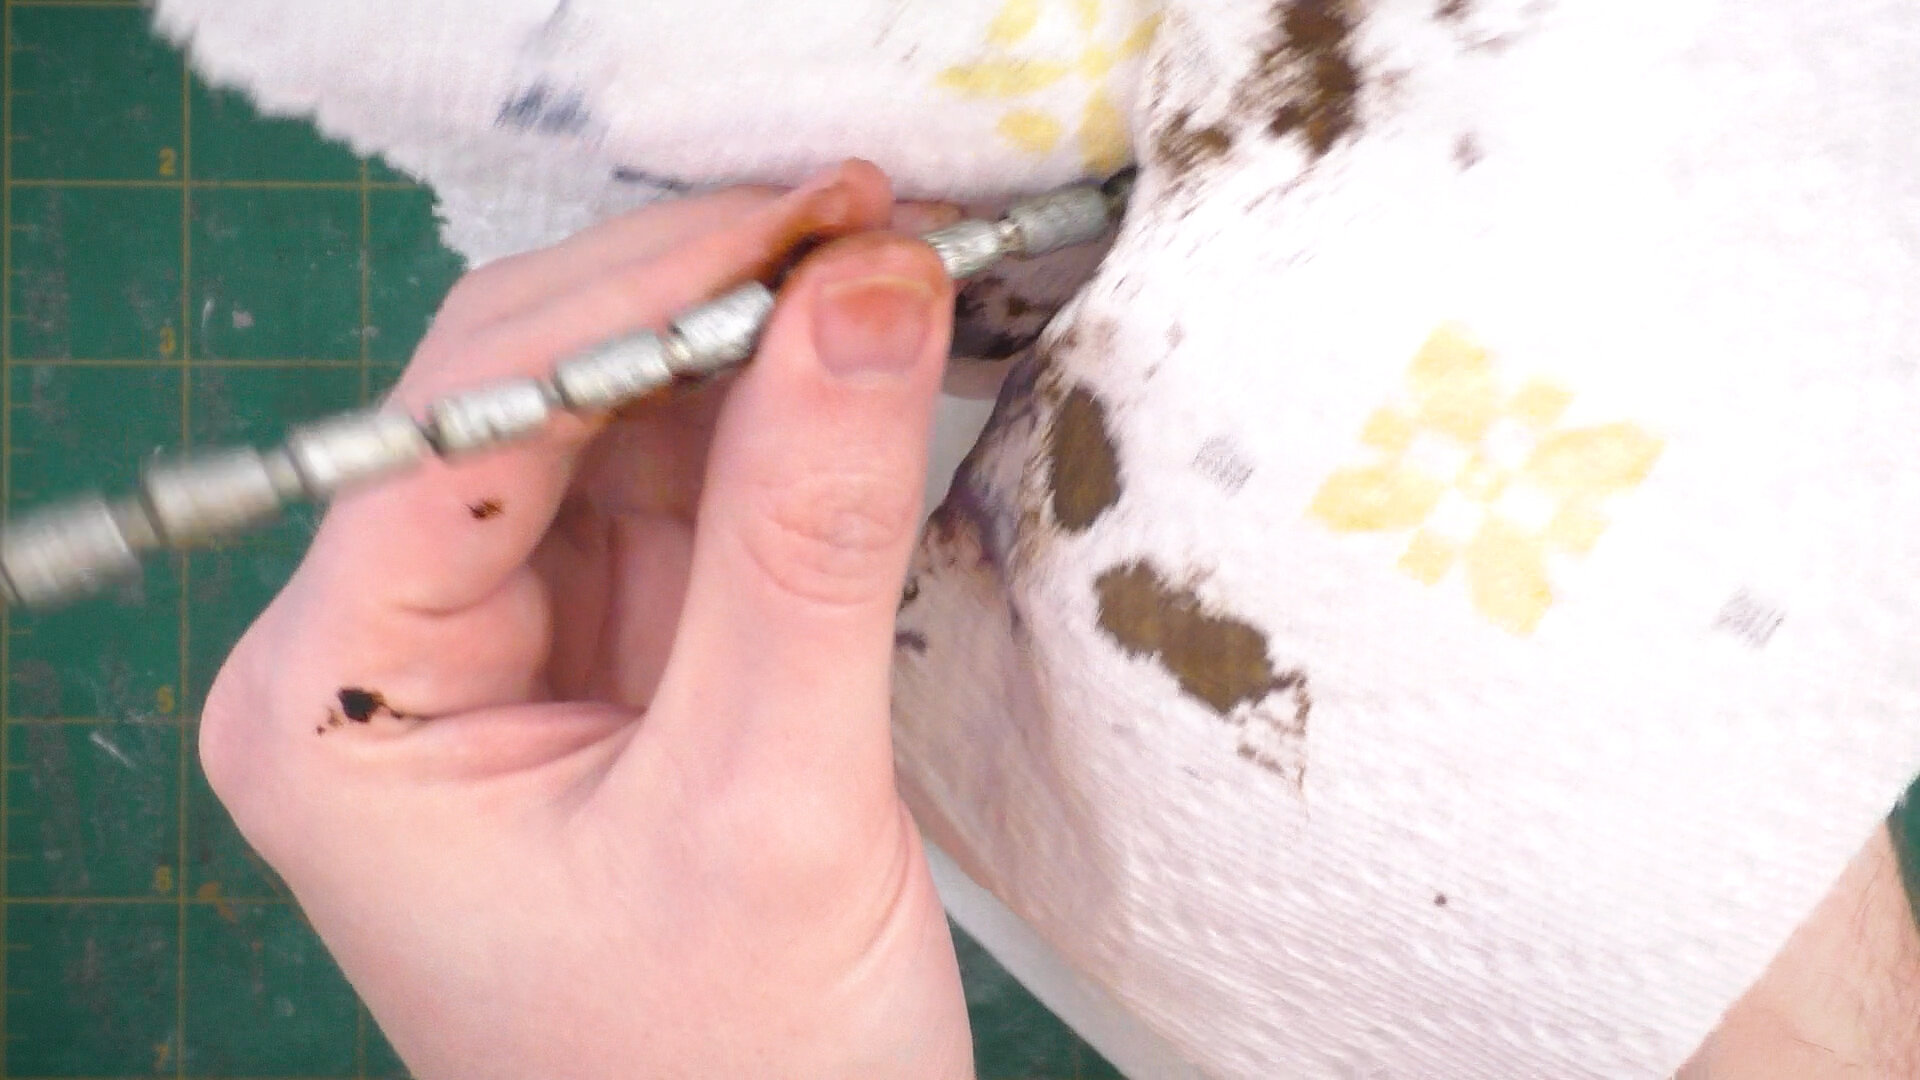
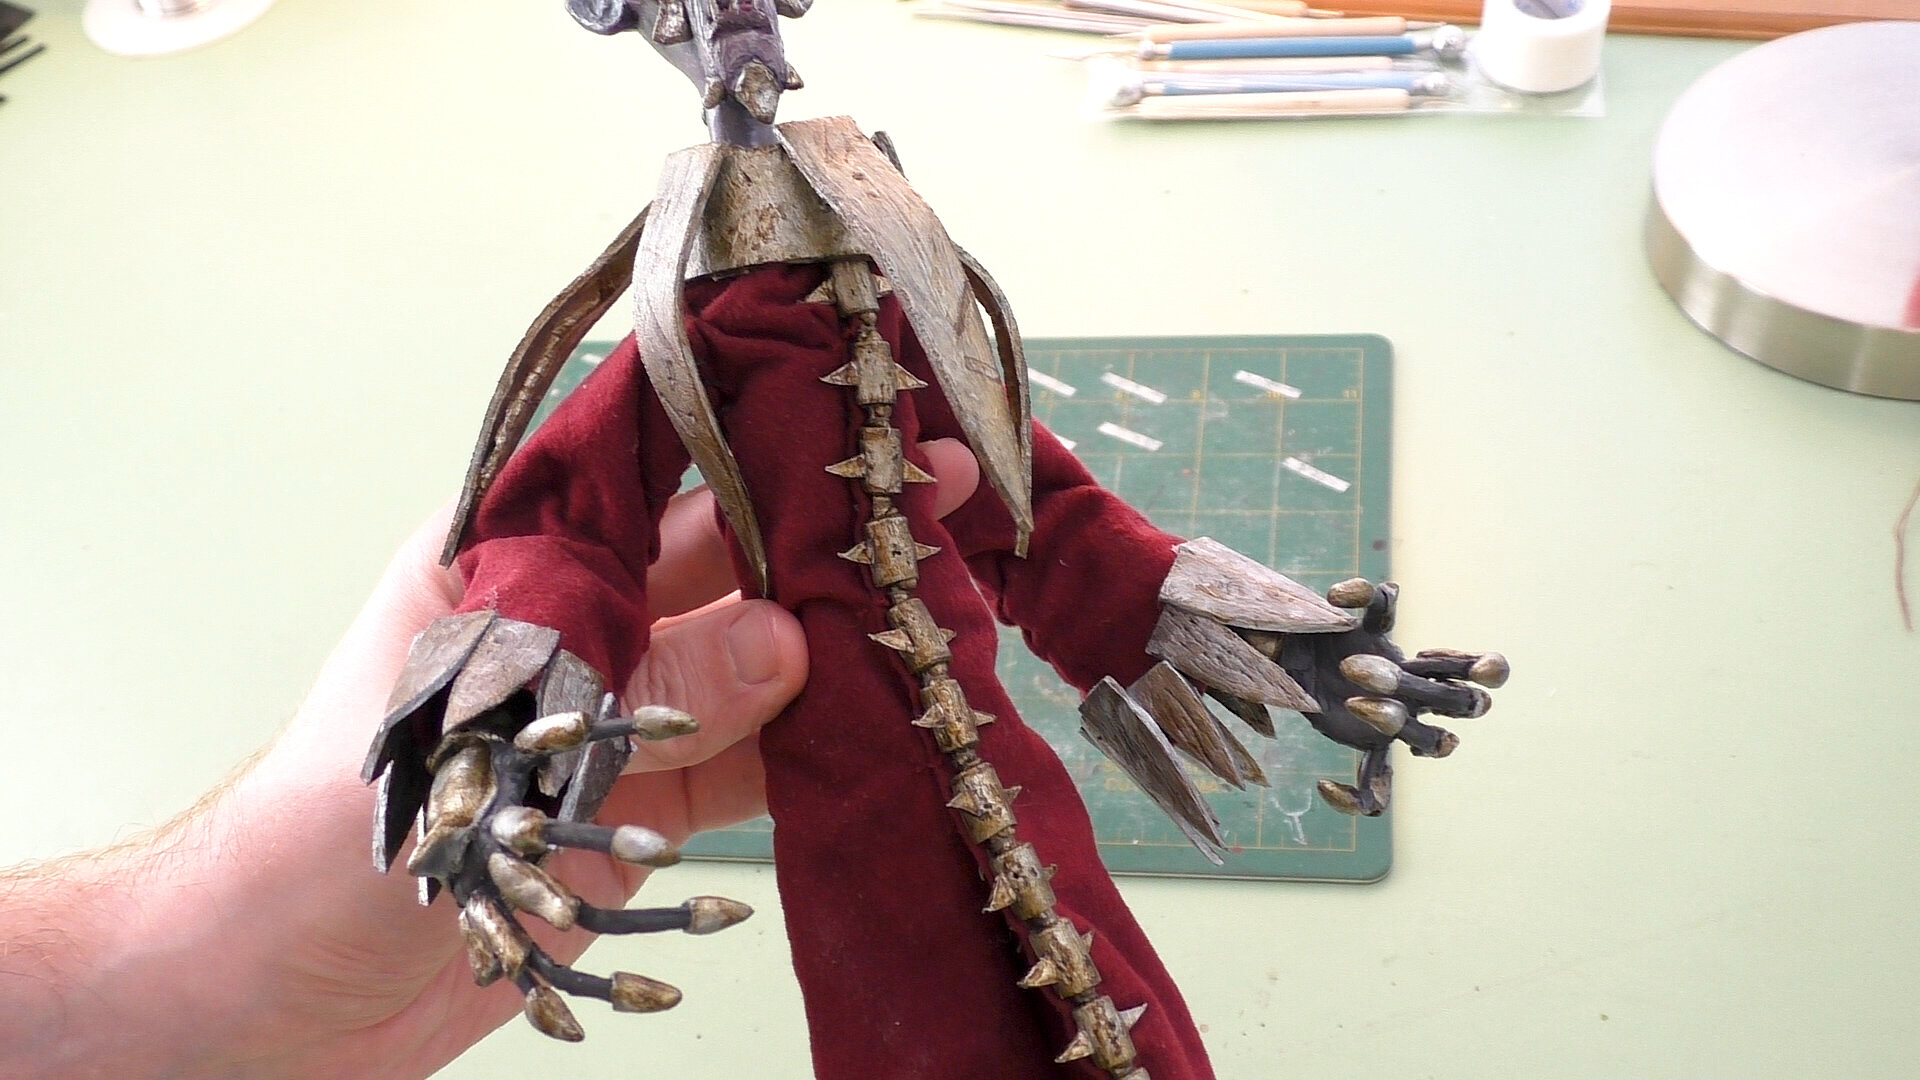
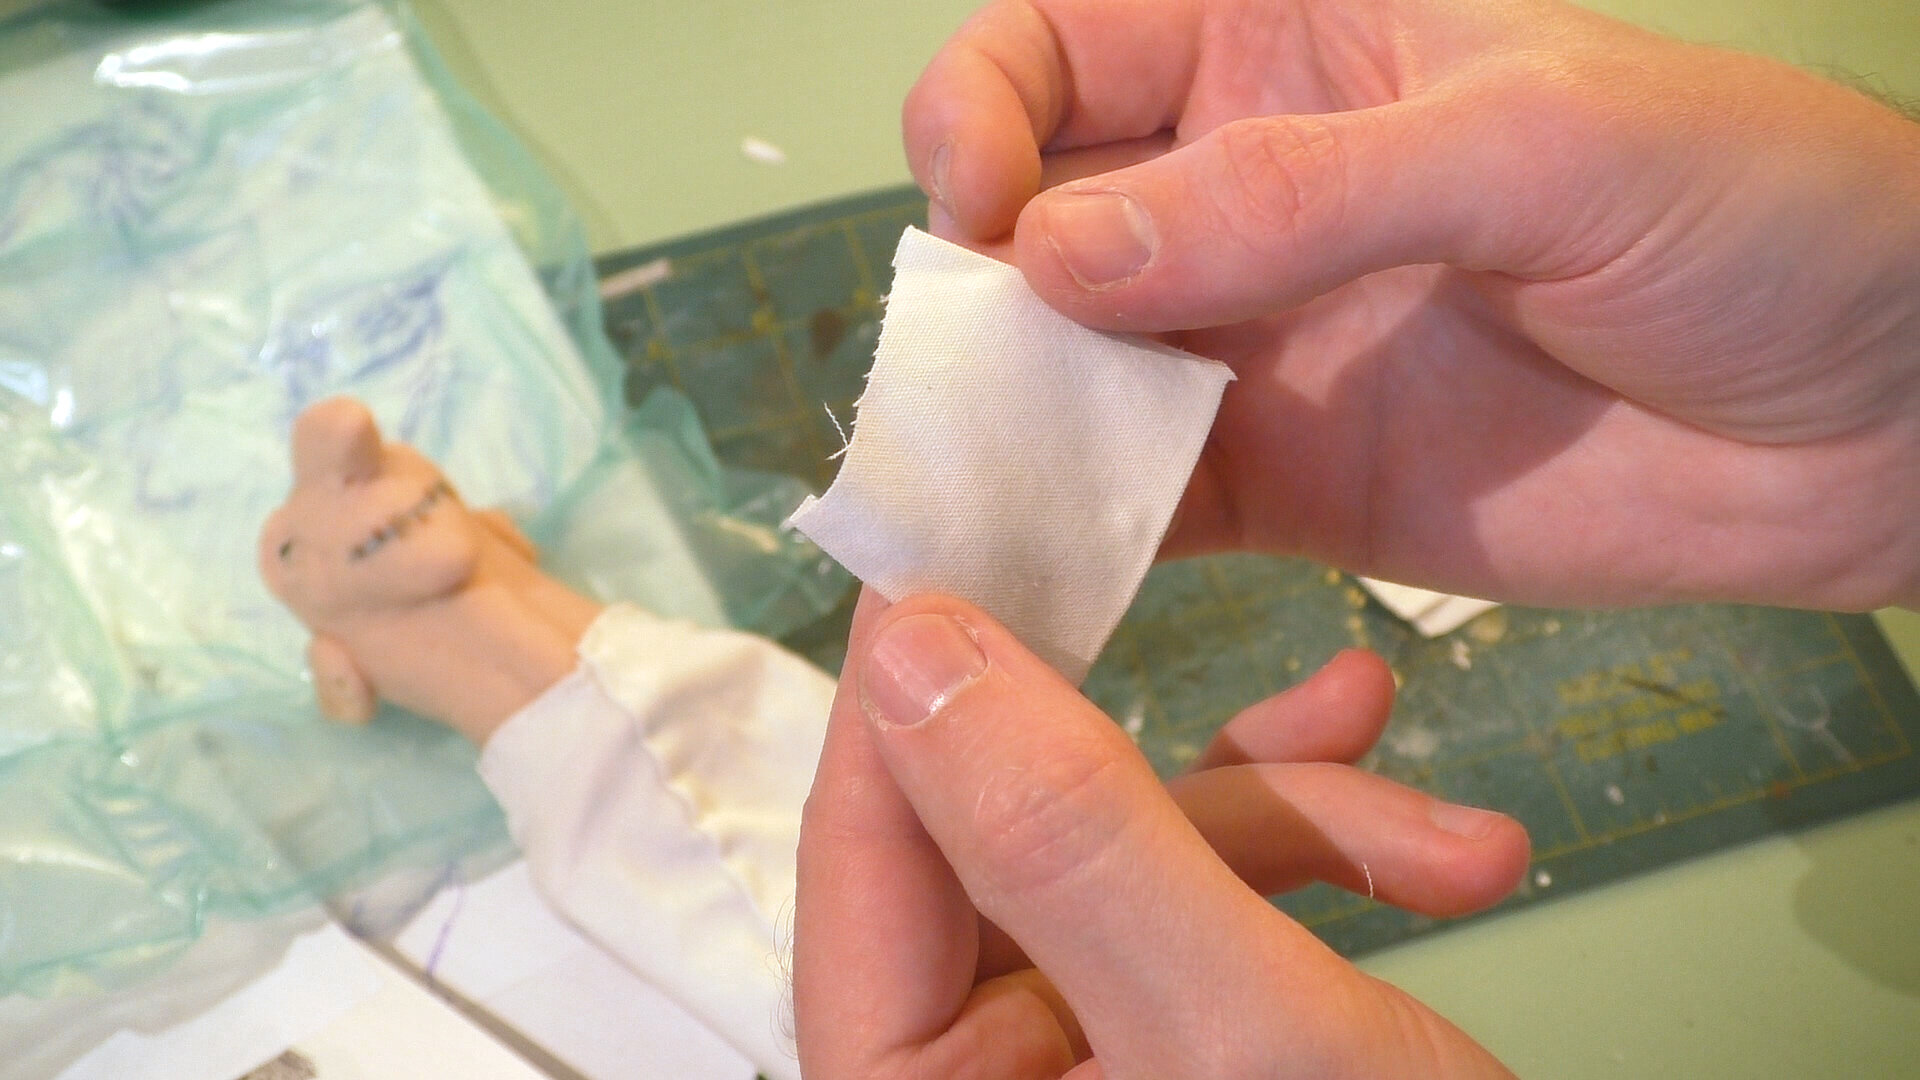
The sculpture’s only a bust, but I decided I wanted to add some fabric costuming. For that I turned to one of my favorite resources to page through, “Historic Costume in Pictures” for inspiration. Using some white fabric with some added ruffles and a grey fabric, I implied a fashionable gentlemanly suit. I generally find I can accomplish what I want with the simple whip and running stitches, which is great because I’m by no means an amazing tailor. The ruffles were made with some Fabri-Tac seams, accordion folding the pieces (I went over them with an iron to help reinforce the folds), and then using a gathering stitch to attach each progressively shorter layer to the one underneath.


Mr. Render isn’t exactly a troll. In this fantasy world I’ve been building, I kind of see most humanoid creatures as individuals with their own unique characteristics and sometimes abilities. I’m mostly breaking with the fantasy trope of races of creatures that all have X characteristics like elves or goblins or whatever. I think of all of that stuff as a pretty modern conception that’s sort of been ingrained in us through pop culture, genre writing, role-playing games, video games, that sort of stuff, but terms like fairy, elf, spirit, and goblin were used pretty interchangeably throughout mythology and folklore to just refer to some thing not of this world.

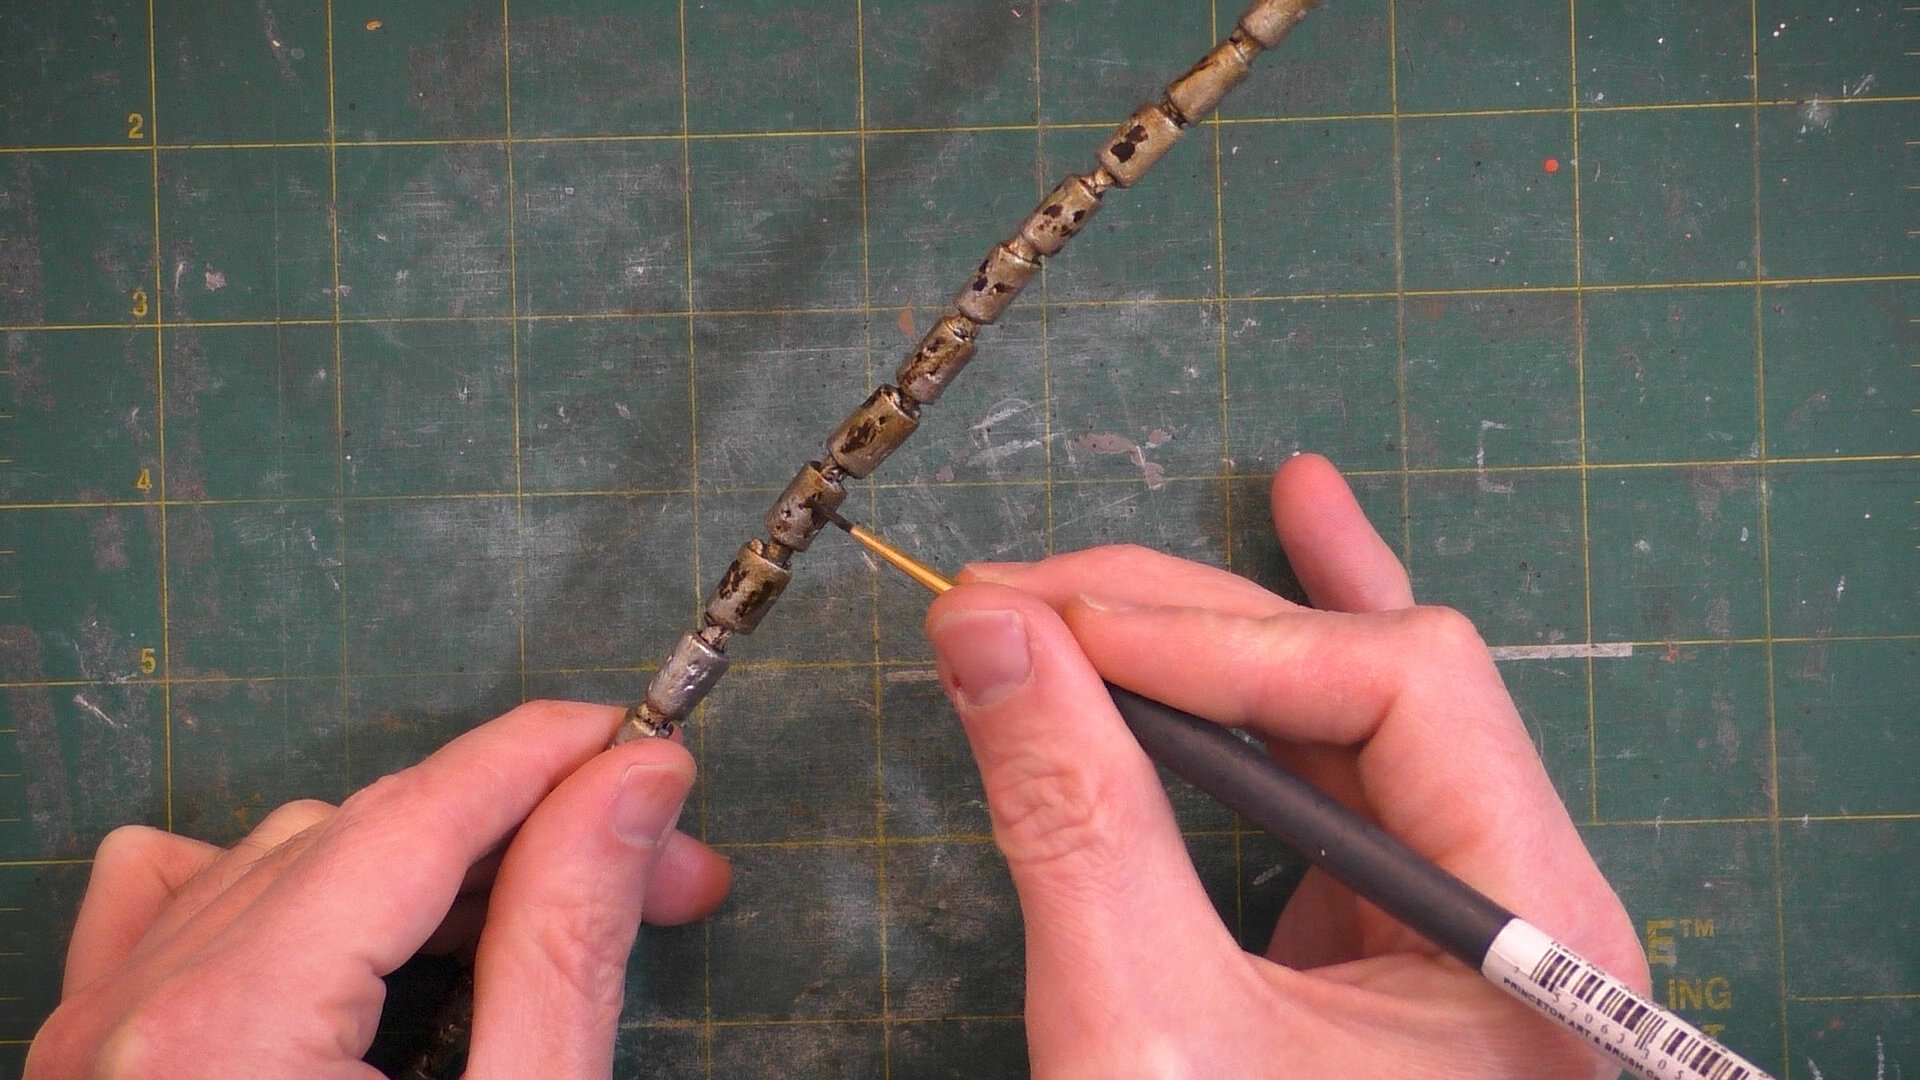
I’m considering the idea of doing a silicone mold and resin casting him and hand sewing on clothes Mr. Rend. For this reason I filled in some gaps in his sharp teeth with some Apoxie Sculpt so they wouldn’t get caught in the silicone while molding. Doing a silicone mold would let me paint different colorations of this creature and I could use different fabrics to create variations. For example, he could be in a simple cloak- maybe with a hood.

Here’s an idea of what the troll bust would look like with a simple cloak.

Thanks for joining me so far and here’s to the adventures we have in future! To be the first to know when I launch new polymer clay art videos, be sure to subscribe to my YouTube channel and hit the bell icon. Catch all of my videos here: https://www.youtube.com/thedreamsyndicatearts. You can also find many of the supplies I use in crafting here: https://www.thedreamsyndarts.com/supplies-gear/. And sign-up for my newsletter (in the sidebar) to get the latest studio goings-on! Thanks so much for joining me on this journey and until next time: Make. Believe!
Want to be the first to know about new happenings in the Dream Syndicate? Sign-up for my newsletter below!